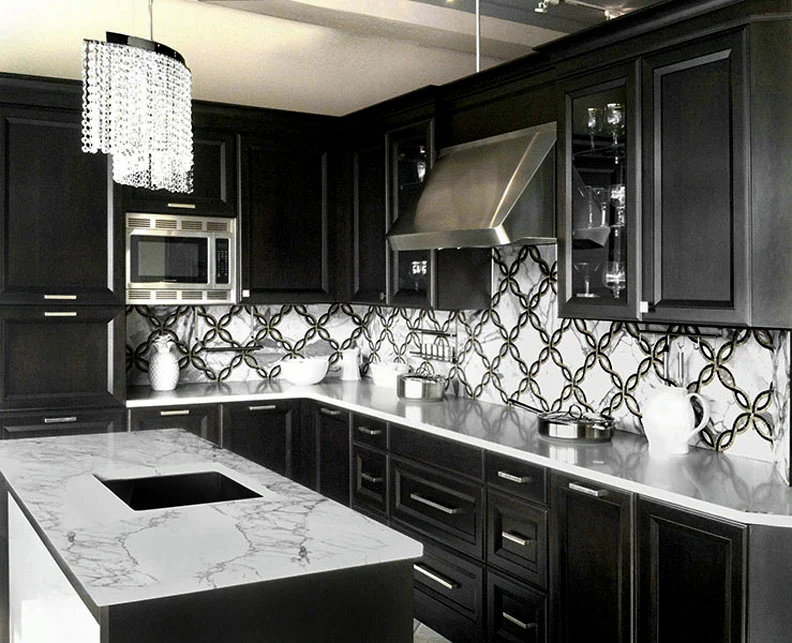
Welcome to Club Ceramic — KW Region’s premier hardwood flooring store for quality wood floors and expert installation.
You’ve mastered furniture placement. Your color palettes are impeccable. Your lighting transforms spaces. Your staging projects photograph beautifully and generate immediate buyer interest.
Then the offers come in—$15,000 to $25,000 below asking price. The buyer feedback is consistent: “Love the staging, but the flooring needs immediate replacement.”
Your staging was flawless. The flooring undermined everything.
This scenario plays out repeatedly across the staging industry. Home stagers invest tremendous effort making properties feel move-in ready, only to watch flooring issues destroy perceived value and kill sale prices.
Here’s what research confirms: homes with updated flooring sell 20-30% faster and command 3-8% higher prices compared to identical homes with worn or dated flooring. In a $600,000 property, that’s $18,000-$48,000 in additional value—far more than the cost of flooring replacement.
Yet flooring remains the most overlooked element in pre-staging consultations. Sellers focus on paint colors and decluttering. Stagers focus on furniture and styling. Meanwhile, the literal foundation of every staged space—the flooring—gets treated as “fixed” rather than strategic.
This guide changes that approach.
What you’ll learn:
By the end of this guide, you’ll have a complete framework for incorporating flooring strategy into every staging consultation—protecting your staging investment and maximizing your clients’ sale prices.
Home staging works. Study after study confirms that staged homes sell faster and for higher prices than unstaged homes. The ROI on professional staging typically ranges from 400-600%—sellers invest $3,000-$5,000 in staging and gain $15,000-$30,000 in sale price.
But there’s a critical qualifier: staging only delivers this ROI when the property’s fundamentals support the illusion of move-in readiness.
Beautiful furniture can’t overcome worn carpet. Stunning styling can’t hide scratched laminate. Perfect lighting can’t disguise dated tile patterns.
When buyers walk into a staged home, they’re expecting a turnkey property. The staging signals “this home is perfect, ready to move in today.” But the moment they notice worn, damaged, or outdated flooring, that illusion shatters.
Suddenly the staged home isn’t a dream property—it’s a renovation project requiring immediate investment before they can even move their furniture in.
Buyers process flooring differently than other home features:
Flooring is constant visibility. Unlike cabinets (partially hidden by dishes), countertops (covered by appliances), or walls (covered by art), flooring is continuously visible. Buyers see it in every room, from every angle, throughout the entire showing.
Flooring is tactile. Buyers walk on floors, feel texture underfoot, hear creaks or hollow sounds. It’s not just visual—it’s experiential. Worn carpet feels matted and tired. Hollow laminate sounds cheap. These sensory experiences shape buyer perception immediately.
Flooring replacement is disruptive. Buyers know that replacing flooring means moving all furniture out, dealing with installation dust and noise, and being displaced from rooms during work. They mentally categorize flooring replacement as “major renovation” even when it’s actually a 3-5 day project.
Flooring cost is overestimated. Most buyers assume flooring replacement costs 50-100% more than it actually does. They see worn flooring and mentally deduct $20,000-$30,000 from their offer when replacement might only cost $8,000-$12,000.
Let’s look at real numbers from the Cambridge and Kitchener-Waterloo real estate market:
Study 1: Days on Market
Study 2: Sale Price vs. Asking Price
In a $600,000 home, that’s the difference between selling for $595,200 vs. $558,600—a $36,600 gap.
Study 3: Staging ROI With vs. Without Flooring Updates
Professional staging alone:
Professional staging + strategic flooring updates:
The combined approach costs 3x more but generates 2-2.5x more value—and properties sell 40% faster.
As a staging professional, you’re uniquely positioned to influence flooring decisions:
You see properties through buyer eyes. You understand what creates move-in ready appeal and what triggers buyer objections.
You have credibility with sellers. They’ve hired you for your expertise in maximizing sale appeal. Your flooring recommendations carry weight.
You understand photography. You know which flooring photographs well and which kills listing photos.
You’re invested in outcomes. Your reputation depends on properties selling quickly at strong prices. Flooring issues that undermine staging harm your business.
You have nothing to gain financially. Unlike contractors or flooring suppliers, you’re not selling flooring—you’re protecting staging investment. This makes your recommendations trustworthy.
The question isn’t whether you should incorporate flooring assessment into consultations. The question is how to do it effectively.
For home staging professionals ready to become strategic flooring advisors, exploring flooring solutions designed for pre-sale updates provides the product knowledge and supplier partnerships that support informed client recommendations.
Some flooring conditions are minor cosmetic issues buyers overlook. Others are instant deal-killers that trigger lowball offers or walkouts during showings.
Understanding the difference helps you prioritize seller recommendations and allocate limited budgets strategically.
Red Flag #1: Stained or Matted Carpet in Main Living Areas
Why it kills sales: Nothing ages a home faster than visibly worn carpet. Matted traffic patterns, discoloration, mystery stains—buyers assume carpet harbors odors, allergens, pet accidents, and hidden damage. Even professionally cleaned carpet that’s visibly worn triggers this response.
Buyer mental calculation: “$5,000-$8,000 carpet replacement required immediately”
Price impact: Buyers typically deduct $10,000-$15,000 from offers (yes, double the actual replacement cost)
Staging impact: Beautiful furniture sitting on worn carpet creates cognitive dissonance. The staging says “luxury” while the flooring says “neglect.”
Your recommendation: In properties over $400K, carpet replacement in main living areas is non-negotiable for staging success. In tighter budgets, prioritize living room and main hallway only.
Red Flag #2: Scratched, Buckling, or Separating Laminate
Why it kills sales: Laminate that’s lifting at seams, separating, showing deep scratches, or buckling from moisture damage signals poor maintenance. Buyers interpret flooring problems as symptoms of larger issues: “If they let the floors get this bad, what else is wrong?”
Buyer mental calculation: “$8,000-$12,000 flooring replacement plus subfloor damage”
Price impact: Buyers deduct $15,000-$20,000, assuming both flooring and subfloor need work
Staging impact: Damaged laminate is impossible to hide with furniture placement or styling. Buyers notice it immediately and focus on it throughout showings.
Your recommendation: Damaged laminate must be replaced. There’s no staging workaround that succeeds. Budget-conscious sellers can install quality LVP for similar cost to cheap laminate but infinitely better buyer perception.
Red Flag #3: Dated Tile Patterns (1990s-2000s Era)
Why it kills sales: Busy patterns, small tiles (4×4 or smaller), terracotta tones, dark grout lines, or ornate borders scream “old house.” Even if structurally perfect, dated tile makes entire spaces feel decades old. Buyers can’t mentally separate the tile from the home’s age.
Buyer mental calculation: “$15,000-$25,000 tile replacement plus disruption”
Price impact: In kitchens and bathrooms, dated tile reduces offers by $10,000-$18,000
Staging impact: Dated tile undermines any contemporary staging. You can’t create modern aesthetic with 1995 tile as the foundation.
Your recommendation: Tile replacement has high ROI in kitchens and main bathrooms. In secondary spaces (laundry, powder rooms), you can sometimes work around it with strategic styling. But in primary spaces, dated tile needs updating.
Red Flag #4: Mismatched Flooring Transitions Between Rooms
Why it kills sales: When every room features different flooring types or colors, homes feel disjointed, cheaply renovated, and smaller. Visual flow matters—buyers want cohesive spaces that feel intentionally designed.
Buyer mental calculation: “The previous owners did piecemeal cheap updates”
Price impact: Subtle but meaningful—reduces offers by $5,000-$10,000 as buyers perceive the home as lower quality
Staging impact: Makes furniture placement and styling challenging. No amount of staging creates cohesion when flooring constantly changes.
Your recommendation: Even if individual flooring sections are decent quality, mismatched transitions harm sale appeal. Recommend cohesive flooring throughout main living areas.
Red Flag #5: Hollow-Sounding or Creaky Flooring
Why it kills sales: Buyers walk through showings. When floors sound hollow, creaky, or unstable, they assume structural problems. Even if it’s just poorly installed laminate over thin underlayment, buyers worry about subfloor damage, joists, or foundation issues.
Buyer mental calculation: “Major structural work required—avoid this property”
Price impact: Can kill sales entirely. Buyers who perceive structural issues often walk away rather than make offers.
Staging impact: Beautiful staging can’t overcome scary creaking sounds during showings. Buyers focus on the problem, not the furniture.
Your recommendation: Diagnose the cause. Often it’s simple underlayment issues, not structural damage. If sellers won’t address it, at least get a professional assessment to include with disclosure documents.
Moderate Concern #1: Worn Hardwood with Surface Scratches
Impact: Buyers notice but often accept minor wear in hardwood. Unlike carpet or damaged laminate, hardwood scratches read as “normal wear” rather than “deferred maintenance.”
Recommendation: If budget allows, professional refinishing ($3-5/sq ft) dramatically improves appearance. If not, professional deep cleaning and polish can minimize scratches for staging photography.
Moderate Concern #2: Light Surface Staining on Grout
Impact: Mildly off-putting but not a deal-killer if tile itself is modern and clean.
Recommendation: Professional grout cleaning and sealing ($200-$500) provides huge visual improvement for minimal cost. High ROI even in tight budgets.
Moderate Concern #3: Slightly Outdated but Clean Flooring
Impact: Flooring that’s 8-12 years old but undamaged and well-maintained doesn’t trigger strong negative reactions. Buyers might mentally note “we’ll eventually replace this” but won’t deduct significant amounts from offers.
Recommendation: Deep professional cleaning, staging that draws eyes upward (vertical elements, lighting), and transparent marketing language (“opportunity to customize flooring to your taste”) works reasonably well.
These don’t meaningfully impact buyer perception or staging success.
Return on investment for flooring updates varies dramatically based on:
Here’s how to guide sellers toward maximum ROI decisions.
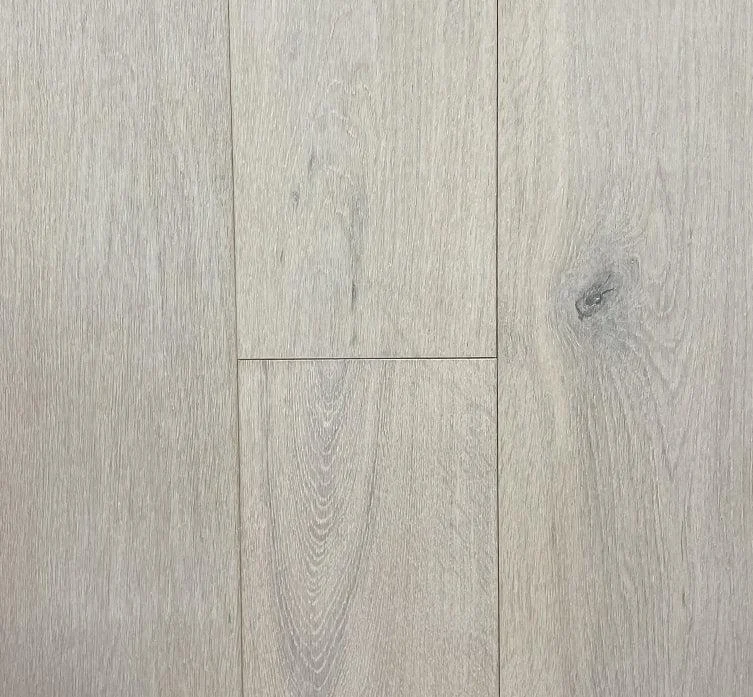
Luxury Vinyl Plank (LVP) in Main Living Areas
Best for: Properties $350K-$750K in Cambridge/Kitchener-Waterloo market
Cost: $4-6/sq ft installed (1,000 sq ft = $4,000-$6,000)
Sale price impact: $8,000-$12,000 increase
Why it works:
When to recommend: This is your default recommendation for most staging projects. It’s the sweet spot of cost-to-value ratio.
Staging advantage: Creates clean, modern foundation that makes staging furniture pop. Light LVP (natural oak, light grey) makes rooms feel 15-20% larger in photos.
Porcelain Tile in Kitchens and Bathrooms
Best for: All property values—kitchens and bathrooms must have waterproof, updated flooring
Cost: $5-8/sq ft installed (average kitchen 150 sq ft = $750-$1,200)
Sale price impact: $3,000-$6,000 in kitchens, $2,000-$4,000 in main bathrooms
Why it works:
When to recommend: Always, if current tile is damaged or dated. Kitchens and bathrooms with updated tile sell homes.
Staging advantage: Modern tile creates clean backdrop for kitchen and bathroom styling. Large-format tiles make small bathrooms feel more spacious.
Engineered or Solid Hardwood in Main Living Areas
Best for: Properties $600K+ where buyers expect premium materials
Cost: $7-12/sq ft installed (1,000 sq ft = $7,000-$12,000)
Sale price impact: $10,000-$16,000 in luxury markets
Why it works:
When to recommend: Properties over $650K in established neighborhoods, historic homes, luxury markets where LVP feels “cheap”
Staging advantage: Real wood photographs with depth and character. Works beautifully with high-end staging furniture.
Caution: In mid-range markets ($350K-$550K), hardwood doesn’t deliver proportionally higher ROI than LVP. Save sellers money and recommend LVP instead.
Refinishing Existing Hardwood
Best for: Properties with original hardwood under carpet or hardwood with surface damage
Cost: $3-5/sq ft (1,000 sq ft = $3,000-$5,000)
Sale price impact: $6,000-$10,000
Why it works:
When to recommend: When sellers mention “we think there’s hardwood under the carpet” or existing hardwood is scratched but structurally sound
Staging advantage: Refinished hardwood looks brand new in photos. Stain color can be customized to match staging palette.
Exotic Hardwoods (Brazilian Cherry, Tigerwood, etc.)
Best for: Properties $1M+ in luxury markets only
Cost: $12-20/sq ft installed
Sale price impact: Rarely exceeds $15,000 even in luxury properties
Why limited ROI: Buyers appreciate quality but won’t pay proportionally more. Over-improving for neighborhood creates beautiful but unprofitable staging.
When to recommend: Only in true luxury properties ($900K+) in premium neighborhoods where buyers expect over-the-top finishes
Designer Tile with Complex Patterns
Best for: Very limited circumstances—mostly custom luxury builds
Cost: $10-18/sq ft installed
Sale price impact: $5,000-$10,000 maximum
Why limited ROI: Taste-specific. Some buyers love ornate tile, many find it dated or too bold. Playing it safe with classic tile delivers better returns.
When to recommend: Rarely. Stick with large-format neutral tile in 95% of staging projects.
Keeping Worn Carpet or Damaged Laminate
Cost to keep: $0 upfront
Sale price impact: -$15,000 to -$30,000
Why it destroys value: Buyers deduct more from offers than replacement would cost. Staging investment is wasted when flooring undermines move-in ready perception.
Your responsibility: Help sellers understand that refusing flooring updates doesn’t save money—it costs significantly more in reduced sale price.
Installing Cheap Builder-Grade Laminate
Cost: $2-3/sq ft installed
Sale price impact: -$8,000 to -$12,000
Why it backfires: Buyers recognize cheap laminate immediately. It signals “quick flip” or “cheap renovation.” Better to keep decent existing flooring than install obvious budget materials.
Your responsibility: Steer sellers away from bottom-tier materials. If budget is limited, do less square footage with better materials rather than more square footage with cheap materials.
$300K-$450K Properties:
$450K-$650K Properties:
$650K-$900K Properties:
$900K+ Properties:
Every staging consultation should include systematic flooring evaluation. This 15-minute assessment protects your staging investment and helps sellers make informed decisions.
Room-by-Room Evaluation:
Print this checklist and bring it to every initial consultation:
Living Room / Main Living Area:
Kitchen:
Main Bathroom:
Bedrooms (note each separately):
Hallways/Entryways:
Rate each room’s flooring on this scale:
Level 5 – Excellent (No Action Needed):
Recommendation: Stage as planned. No flooring discussion needed.
Level 4 – Good (Minor Improvements Optional):
Recommendation: Professional deep cleaning improves photos. Mention optional upgrades but don’t push.
Level 3 – Fair (Improvements Recommended):
Recommendation: Discuss ROI of updates. Present options with cost-benefit analysis. If seller declines, plan staging workarounds.
Level 2 – Poor (Updates Strongly Recommended):
Recommendation: Make flooring updates central to pre-staging consultation. Show seller how flooring costs are recovered (and exceeded) in sale price. Without updates, consider declining project or disclosing limited staging ROI expectations.
Level 1 – Unacceptable (Updates Required):
Recommendation: Flooring replacement is non-negotiable. Don’t stage until flooring is addressed. Explain this clearly: “I can’t deliver results with flooring in this condition. Buyers will focus entirely on the floors, not the staging.”
During your walkthrough, take photos that help sellers see what buyers will see:
Photography tips:
Email these photos to sellers after consultation with your recommendations. Visuals are far more persuasive than verbal descriptions.
“When was the flooring installed?”
“Have you noticed buyers commenting on flooring during past showings?” (if relisting)
“What’s your target sale date?”
“What’s your budget range for pre-sale improvements?”
“Are you planning to live here during staging, or will the property be vacant?”
“Have you gotten any pre-listing inspection feedback about the floors?”
“We’ll just price the house lower and let the buyers deal with flooring.”
Why this fails: Buyers deduct MORE than actual flooring costs from offers. Sellers lose $15,000-$25,000 trying to “save” $8,000-$12,000 in flooring costs.
Your response: “I understand the logic, but here’s what actually happens: buyers see worn flooring and mentally categorize your home as a ‘project,’ not ‘move-in ready.’ They deduct $20,000+ from offers even though flooring replacement only costs $10,000. You lose money AND the home sits longer on market. The math strongly favors updating flooring before listing.”
“Our real estate agent said the flooring is fine.”
Why this fails: Agents often avoid confrontation about improvements that cost sellers money. They’d rather list quickly than push for updates.
Your response: “Agents want happy clients, so sometimes they’re reluctant to recommend costly updates. But as your staging professional, my job is maximizing your sale price. Based on properties I’ve staged, flooring in this condition consistently reduces offers by $15,000-$20,000. I’m recommending updates because I want your staging investment to pay off fully.”
“We’ll put area rugs over the bad spots.”
Why this fails: Buyers lift rugs. Always. And then they’re even more suspicious because sellers tried to hide problems.
Your response: “Buyers will lift every rug during showings—they’re looking for what you’re hiding. When they find worn flooring underneath, they assume you’re hiding bigger problems too. It’s better to address flooring directly than use rugs as cover-ups. We can use rugs strategically for style, but not to conceal damage.”
“Can’t you just stage around it?”
Why this fails: Flooring is visible from every angle. There’s no furniture arrangement that hides floor-wide problems.
Your response: “I can minimize attention on flooring with strategic furniture placement and styling, but I can’t make buyers unsee damaged floors. If we proceed with staging on problematic flooring, you need to understand that staging ROI will be significantly reduced. My honest recommendation is addressing flooring first.”
For staging professionals seeking flooring partners who understand pre-sale timelines, budget constraints, and staging priorities, Club Ceramic Cambridge provides specialized support for staging projects, including fast-track installation scheduling and design consultation that aligns with staging aesthetics.

Sellers hire you for staging expertise. They trust your judgment on furniture, color, and layout. But recommending costly flooring updates feels different—you’re asking them to spend thousands before you’ve even started staging.
Here’s how to present flooring recommendations with confidence and data.
Part 1: Acknowledge What They’ve Already Done Well
Start every flooring conversation by recognizing seller investments and efforts:
“You’ve clearly maintained this home beautifully. The kitchen updates are fantastic, the paint is fresh, and I can see you’ve taken great care of the property.”
This establishes goodwill before discussing needed improvements.
Part 2: Frame Flooring as ROI, Not Cost
Never present flooring as an expense. Present it as an investment with measurable return:
“I want to talk about an opportunity to significantly increase your sale price. Based on comparable properties I’ve staged, updated flooring in the main living areas typically adds $15,000-$25,000 to sale prices in homes at your price point. The investment is around $8,000-$10,000, which means you’d net an additional $10,000-$15,000 at closing.”
Part 3: Show Visual Evidence
This is where your assessment photos become powerful:
“Let me show you what buyers will see during showings…” [show photos you took during walkthrough]
“And here’s how similar properties with updated flooring photograph for listings…” [show examples from your portfolio or local listings]
The visual contrast makes your case far more effectively than words alone.
Walk sellers through simple math:
“Let’s look at the numbers together:
Your target sale price: $625,000
Current flooring condition means buyers will likely offer: $600,000-$610,000
Flooring investment for main living areas: $9,000
Expected sale price with updated flooring: $630,000-$640,000
Net gain after flooring cost: $21,000-$31,000
Plus, properties with updated flooring sell 20-30 days faster, saving you mortgage, utilities, and carrying costs.
The math strongly favors the flooring investment.”
Objection #1: “That’s too expensive. We don’t have that budget.”
Response: “I completely understand budget constraints. Let’s prioritize strategically. If we can’t do the entire main floor, I’d recommend focusing on the living room and main hallway—the areas buyers see first and spend most time in during showings. That reduces the investment to $4,500-$5,500 and still delivers significant impact on perceived value.”
Alternative approach: “Have you considered the actual cost of NOT updating? If buyers deduct $18,000 from offers because of worn flooring, you’re spending $18,000 anyway—you’re just not getting updated floors in return. The choice is really: spend $9,000 and get new floors plus $10,000 net gain, or spend nothing and lose $18,000. The first option is clearly better financially.”
Objection #2: “The flooring isn’t that bad. You’re being too picky.”
Response: “You’re absolutely right that you’ve gotten used to it—you live here daily and it feels normal. But buyers are seeing dozens of homes, and they’re comparing yours to every other property on market. Let me show you what’s currently listed in your price range…” [pull up 3-4 competing listings with updated flooring]
“See how these properties present? Buyers will tour your home right after seeing these. We need your property to compete at the same visual level, or they’ll mentally downgrade their offer price.”
Objection #3: “Our agent didn’t mention the flooring as a problem.”
Response: “Agents focus on listing and selling. I focus specifically on presenting properties in the best possible light to maximize sale prices. That’s why you hired a stager—to get professional insight on buyer perception. Flooring dramatically affects how buyers perceive value and move-in readiness. I’m bringing this up because I’ve seen flooring issues cost sellers $15,000-$25,000 in reduced offers, and I don’t want that to happen to you.”
Objection #4: “We’re planning to replace the floors, but we want to let the buyer choose.”
Response: “I appreciate you wanting to accommodate buyer preferences, but here’s what actually happens: buyers don’t give you credit for flooring they’ll ‘eventually install.’ They see worn floors, deduct replacement cost from their offer, then often never actually replace the flooring anyway. You lose money and buyers get a discount they don’t use to improve the home.
Instead, if you update flooring before listing, you control the cost (contractors charge you less than buyers will pay), you choose quality neutral materials that appeal to 80% of buyers, and you get full credit in sale price. You’re better off financially and buyers get a move-in ready home.”
Objection #5: “Can we just do it after we get an offer?”
Response: “Unfortunately, that won’t work well for three reasons:
First, buyers make offers based on what they see during showings. If they see worn flooring, they’ve already mentally discounted their offer. Promising to replace flooring later doesn’t increase their offer price—they’ve already processed the home as ‘needs work.’
Second, delaying move-in by 2-3 weeks for flooring installation after offer acceptance often kills deals. Buyers need to move on specific timelines.
Third, it creates negotiation leverage for buyers. They’ll try to renegotiate price down, claiming flooring costs more than expected or they found ‘problems’ during installation.
We need flooring updated before listing to maximize your sale price and avoid deal-killing delays.”
Sometimes sellers won’t budge despite your best efforts. Here’s how to protect yourself and manage expectations:
Set Realistic Expectations in Writing:
Send a follow-up email documenting the conversation:
“Per our discussion today, I’ve recommended flooring updates in the living room, kitchen, and main hallway to maximize staging ROI. Based on comparable properties, flooring in its current condition will likely reduce offers by approximately $15,000-$20,000 and extend time on market by 20-30 days.
You’ve decided to proceed with staging without flooring updates. I’ll do my absolute best to minimize flooring impact through strategic furniture placement and styling, but I want you to understand that staging ROI will be significantly reduced without addressing the flooring concerns I’ve outlined.
I’m still committed to making your home look as beautiful as possible, but managing expectations about potential sale price impact is important.”
Adjust Your Staging Strategy:
When you can’t fix flooring, adapt your staging approach:
Consider Declining the Project:
If flooring is truly severe (Level 1: Unacceptable on your assessment scale), it may be better to decline:
“I appreciate you considering me for this staging project, but I need to be honest: flooring in this condition will prevent me from delivering the results you’re expecting. Buyers will focus entirely on the floors, not the staging. I’d be taking your money without being able to deliver meaningful ROI. I recommend addressing the flooring first, then reaching out to me to schedule staging. I want to work with you, but only when I can deliver real value.”
This protects your reputation and demonstrates professional integrity.
You’ve made your case. You’ve shown the numbers. You’ve explained buyer psychology. But the seller still refuses flooring updates.
Now what?
You can’t work miracles, but you can minimize flooring impact through strategic staging techniques. Here’s your playbook.
The Goal: Reduce the percentage of visible flooring in each room without making spaces feel cramped.
Living Room Setup:
Why this works: Buyers focus on the styled “room within a room” you’ve created on the rug. Their eyes follow furniture arrangements, not flooring.
Dining Room Setup:
Why this works: Dining rooms are photographed from doorways. The table and rug dominate the frame, floor becomes background.
Bedroom Setup:
Why this works: Beds dominate bedroom photography. Buyers notice the styling, not what’s underneath.
The Goal: Train buyer eyes to look up and around—not down.
Tall Plants (6-7 feet):
Floor-to-Ceiling Curtains:
Statement Art at Eye Level and Above:
Architectural Lighting:
Why this works: Human eyes naturally follow vertical lines. The more vertical interest you create, the less buyers look down.
The Goal: If flooring is the weakness, make everything else the strength.
If Kitchen is Updated:
If Bathrooms are Updated:
If Paint is Fresh:
If Windows/Light are Excellent:
Why this works: Buyers make overall judgments about property condition. If 7 out of 10 features feel updated and high-quality, they’re more forgiving of the 3 that aren’t perfect.
The Goal: Make existing flooring look the best it possibly can.
For Carpet:
Result: Won’t make old carpet new, but can improve appearance 40-50%.
For Hardwood:
Result: Can restore 60-70% of original appearance without refinishing.
For Tile:
Result: Dated tile still looks dated, but clean grout makes massive visual difference.
For Laminate:
Result: Limited improvement potential, but clean beats dirty.
The Goal: Properly lit spaces make flooring less noticeable; dim spaces make buyers scrutinize every detail.
Maximize Natural Light:
Layer Artificial Lighting:
Photography Lighting:
Why this works: Bright, well-lit spaces feel positive and clean. Buyers breeze through showings quickly and don’t scrutinize details. Dim spaces make buyers slow down and examine everything closely—including worn flooring.
The Goal: Manage buyer expectations in listing descriptions so flooring isn’t a surprise.
Instead of ignoring flooring: ❌ [No mention of flooring at all]
Frame as opportunity: ✅ “Opportunity to customize flooring to your personal taste throughout main living areas”
Why this works: Buyers arrive expecting to replace flooring. They’ve mentally budgeted for it. Surprise discovery of worn floors triggers bigger price deductions than expected worn floors.
Instead of defensive language: ❌ “Flooring has some wear but is perfectly functional”
Focus on other features: ✅ “Freshly painted throughout, updated kitchen and bathrooms, beautiful natural light—bring your design vision for flooring and make this space truly your own”
Why this works: Redirects attention to positives while acknowledging flooring needs updating.
Be honest with yourself about staging limitations. Workarounds help with:
Workarounds DON’T help with:
If you’re working with Level 1 flooring, document your concerns in writing, reduce your fee to reflect reduced ROI potential, or decline the project.
This question comes up in nearly every flooring conversation: “Should we do luxury vinyl or hardwood?”
Your answer depends on property value, buyer demographics, and market expectations. Here’s how to guide sellers to the right choice.
Luxury Vinyl Plank (LVP):
Engineered or Solid Hardwood:
Property Value: $300K-$650K
In mid-range markets, LVP delivers unbeatable ROI:
Your pitch: “For your price point, luxury vinyl plank gives you the hardwood look at half the cost. You’ll get the same staging impact and buyer appeal, but save $4,000-$6,000. That money can go toward other updates or straight into your pocket at closing.”
When Buyers Prioritize Practicality
LVP appeals to 70% of buyers:
Your pitch: “The buyer pool for your home is mostly young families and professionals. They’re looking for low-maintenance, durable materials. LVP checks every box and actually appeals to more buyers than hardwood in this market.”
When Photography is the Priority
LVP photographs beautifully:
Your pitch: “Listing photos are everything in today’s market. 90% of buyers see your home online before ever visiting. LVP photographs just as beautifully as hardwood—buyers can’t tell the difference in photos. We’ll get the same visual impact for staging at half the cost.”
When Timeline is Tight
LVP installs faster than hardwood:
Your pitch: “We have 3 weeks before your ideal listing date. LVP can be installed in 2-3 days and we can stage immediately after. Hardwood takes 5-7 days plus cure time. LVP keeps us on schedule.”
Property Value: $650K+
In upper-mid and luxury markets, buyers expect premium materials:
Your pitch: “At your price point, buyers expect real hardwood. Comparable homes in your neighborhood all have wood floors. If we install LVP, buyers might perceive it as cutting corners. The additional $4,000-$5,000 for hardwood will be fully recovered in sale price—and then some.”
Historic or Character Properties
Certain homes demand authentic materials:
Your pitch: “Your home has incredible character and original architectural details. LVP would feel out of place with the craftsman woodwork and built-ins. Hardwood honors the home’s era and matches the quality buyers expect in a property like this.”
When Buyers Expect Luxury
High-end buyer expectations:
Your pitch: “Buyers in your market segment are looking for premium materials throughout. Hardwood is a baseline expectation, not an upgrade. It needs to be real wood to meet buyer standards.”
When Existing Hardwood Can Be Refinished
If original hardwood exists under carpet or existing hardwood is damaged:
Your pitch: “You have beautiful original hardwood under this carpet. Let’s refinish it rather than covering it with new material. Buyers will pay premium for ‘original hardwood throughout’—it’s a massive selling point. And refinishing costs less than installing LVP.”
Sometimes the best strategy uses both materials strategically:
Main living areas (visible from entry): Hardwood
Bedrooms and less visible areas: LVP
Your pitch: “Let’s invest where it counts most. Hardwood in the living room, dining room, and main hallway creates that high-end first impression. Then we’ll use quality LVP in the bedrooms. You get the luxury appeal where buyers notice most, but save $4,000 by using LVP in secondary spaces. Best of both worlds.”
Some sellers resist LVP due to misconceptions. Here’s how to reframe:
Objection: “Isn’t vinyl cheap?”
Response: “There’s a huge quality range in vinyl products. Builder-grade vinyl from big box stores does look cheap—thin, shiny, unconvincing wood grain. But premium LVP like we’re recommending looks and feels completely different. It’s thick (6-8mm), has authentic texture, matte finish, and photographs identically to hardwood. I stage homes with both materials regularly, and buyers literally cannot tell the difference in photos or showings. The quality gap has closed dramatically in the past 5 years.”
Objection: “Won’t buyers think we cheaped out?”
Response: “Not at your price point. In homes under $600K, 60-70% of new construction and recent renovations use premium LVP. It’s become the expected, modern choice. Buyers associate it with smart, practical decisions—not cutting corners. If your home were listed at $850K, that perception might be different. But at $525K, LVP is perfectly aligned with buyer expectations.”
Objection: “I just prefer the idea of real wood.”
Response: “I completely understand the appeal of real wood—there’s something emotionally satisfying about authentic materials. But here’s the reality: buyers touring your home will spend 15-20 minutes here during showings. They won’t know whether floors are LVP or hardwood unless they stop to examine closely, which they won’t do if the home is well-staged. In listing photos, they absolutely cannot tell the difference. We’re optimizing for sale price, not personal preference. Save the hardwood investment for your next home where you’ll enjoy it for years. For this sale, LVP delivers equal buyer impact at half the cost.”
| Factor | Recommend LVP | Recommend Hardwood |
|---|---|---|
| Property Value | $300K-$650K | $650K+ |
| Buyer Demo | Families, first-time buyers, pet owners | Luxury buyers, empty nesters, executives |
| Home Style | Modern, contemporary, builder-grade | Historic, craftsman, luxury custom |
| Timeline | Tight (2-3 weeks to listing) | Flexible (4+ weeks available) |
| Budget | Limited ($8K or less for flooring) | Flexible ($12K+ available) |
| Existing Flooring | Damaged beyond repair | Original hardwood that can be refinished |
| Neighboring Comps | Mix of LVP and hardwood | Predominantly hardwood |
For staging professionals seeking guidance on material selection for specific properties, Club Ceramic Cambridge provides complimentary staging consultations to help match flooring recommendations with property types, buyer demographics, and budget parameters.
In today’s real estate market, 95% of buyers begin their home search online. They scroll through dozens of listings, spending an average of 60 seconds evaluating each property.
Your staging creates the lifestyle appeal. But flooring—covering the entire bottom third of every photo—dramatically affects whether buyers click “schedule showing” or scroll past.
Before finalizing any staging plan, evaluate flooring through the camera lens.
Ask yourself:
1. Does this flooring reflect or absorb light?
Staging impact: Light floors make your staging furniture pop. Dark floors can make even beautiful staging look dim and heavy in photos.
2. Does this flooring show every speck of dust and pet hair?
Staging impact: If photographers need to stop every 5 minutes to clean floors, the shoot takes twice as long and final photos still show imperfections.
3. Does this flooring have distracting patterns or grain?
Staging impact: Flooring should be a neutral foundation, not a focal point competing with your staging.
4. Does this flooring create the aesthetic we’re targeting?
Staging impact: Flooring sets the baseline aesthetic. Your furniture and styling must work WITH the flooring tone, not fight against it.
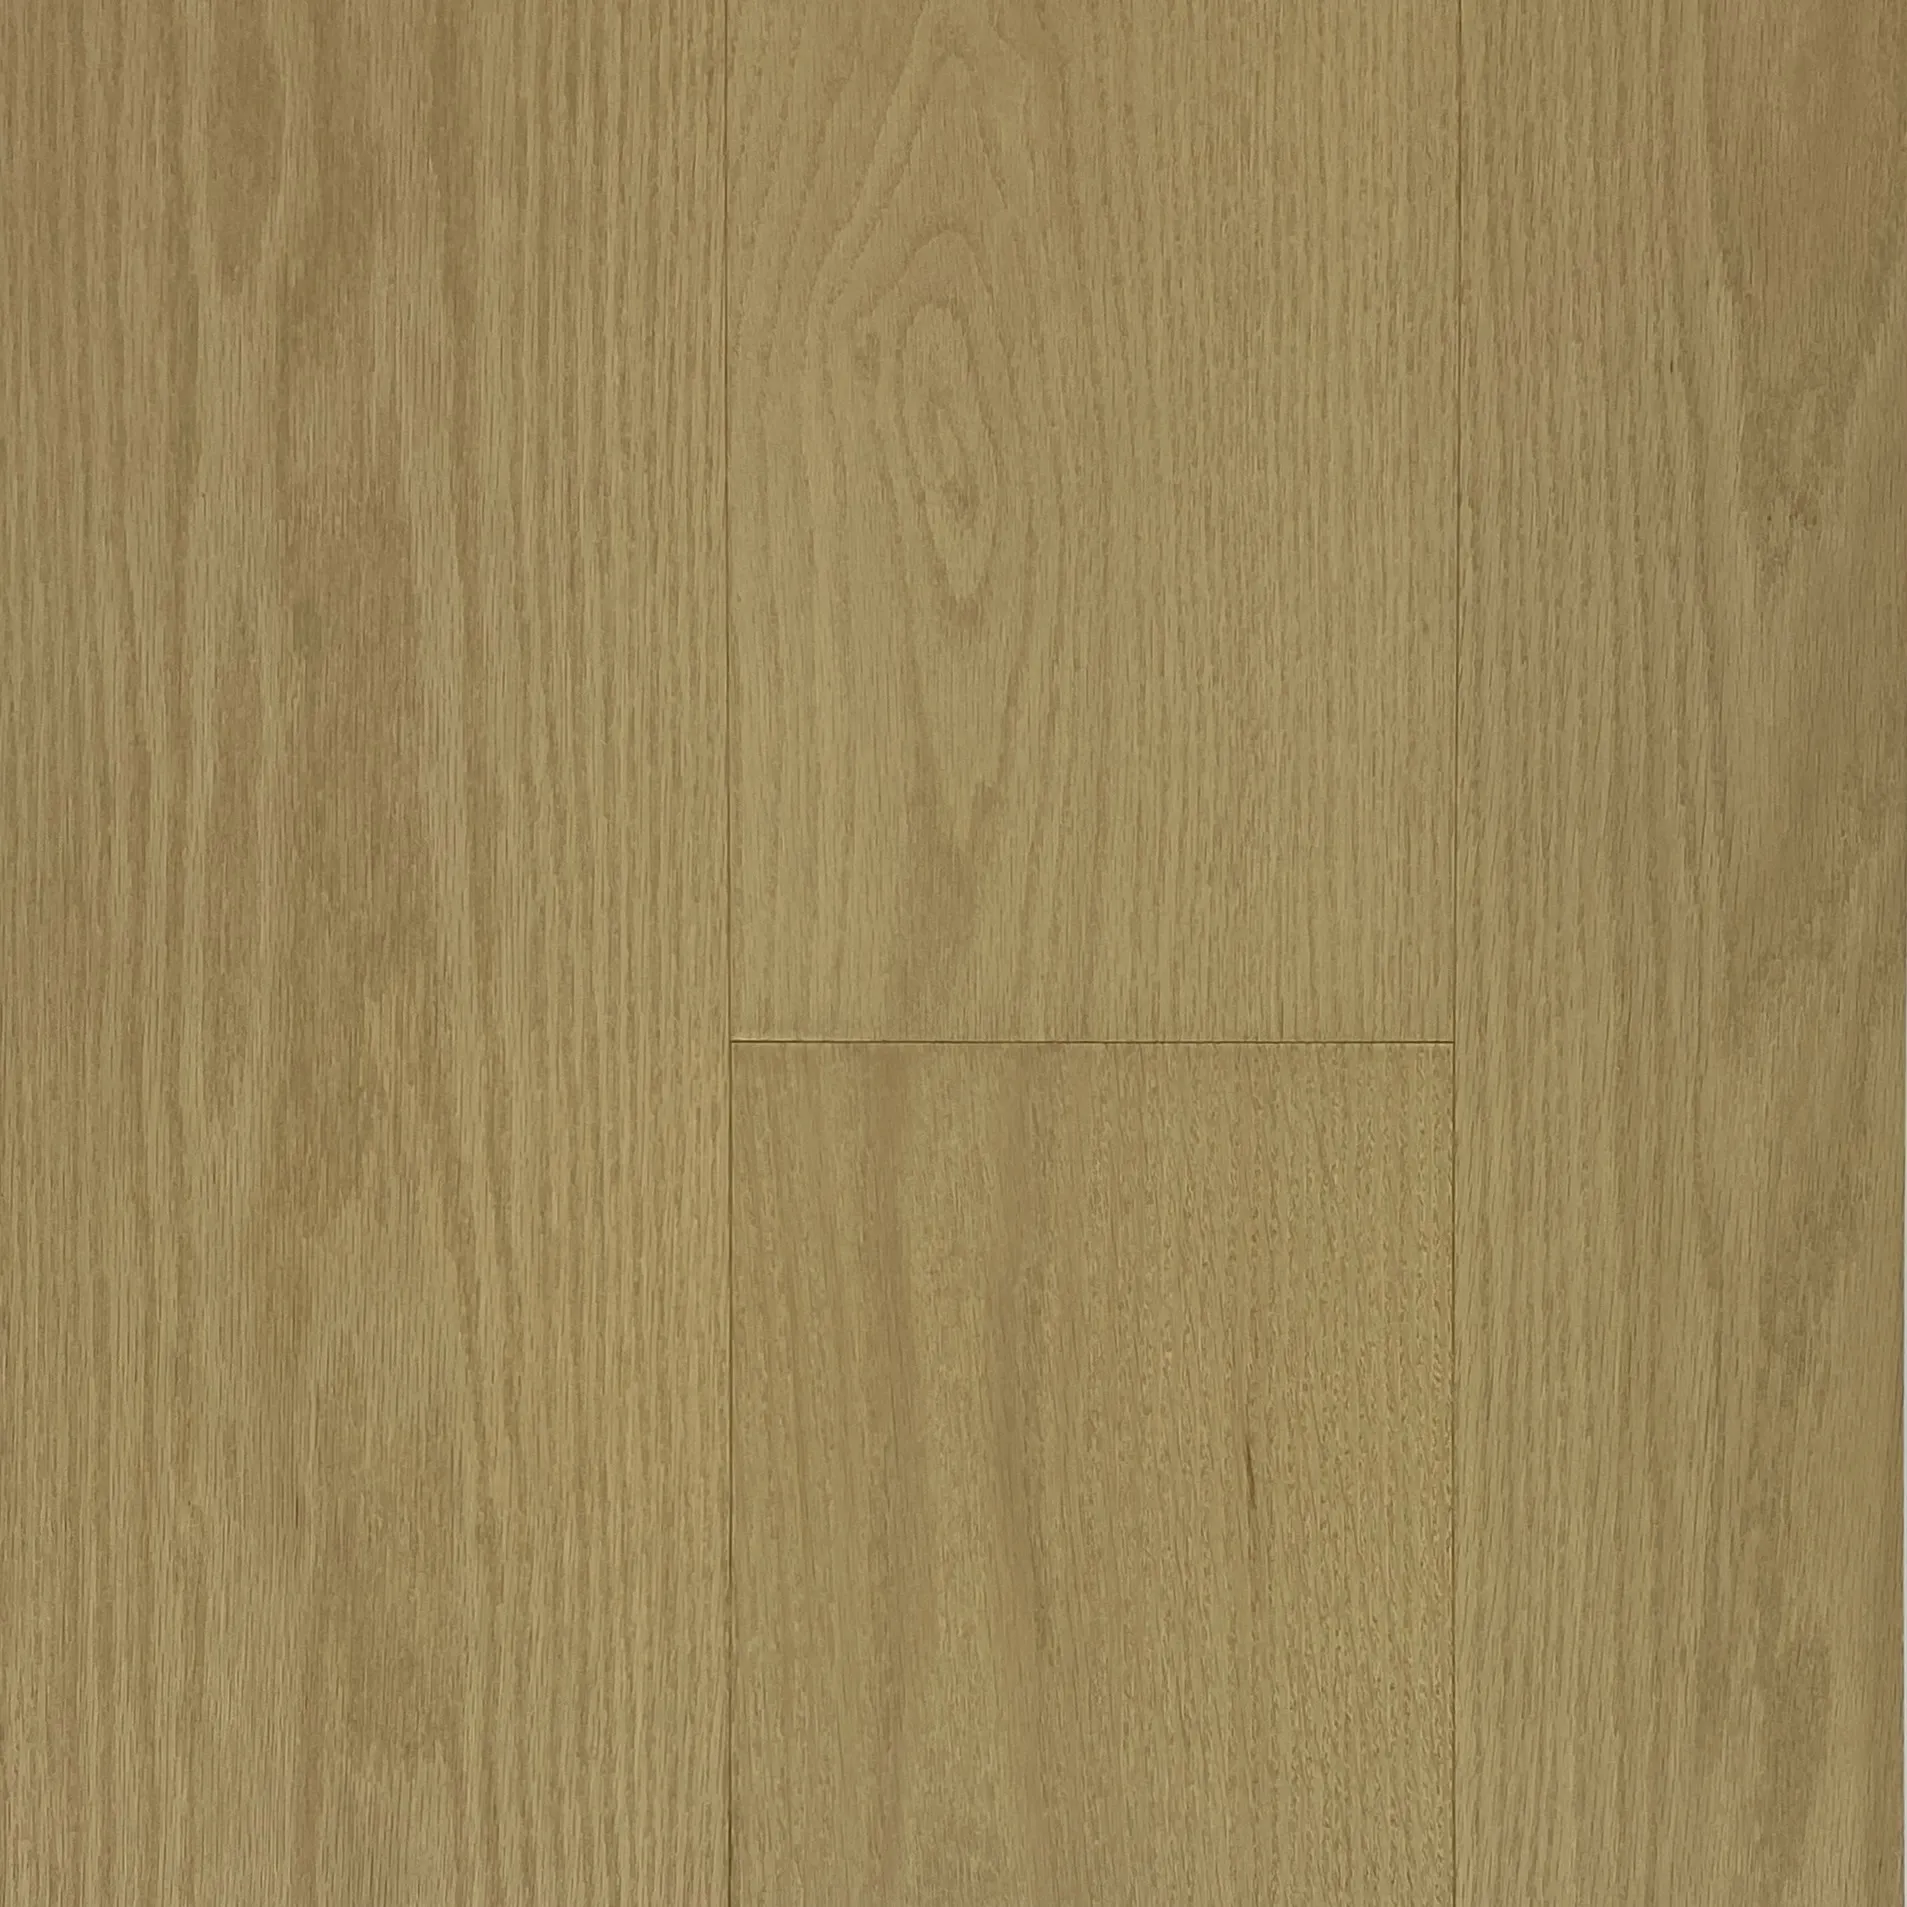
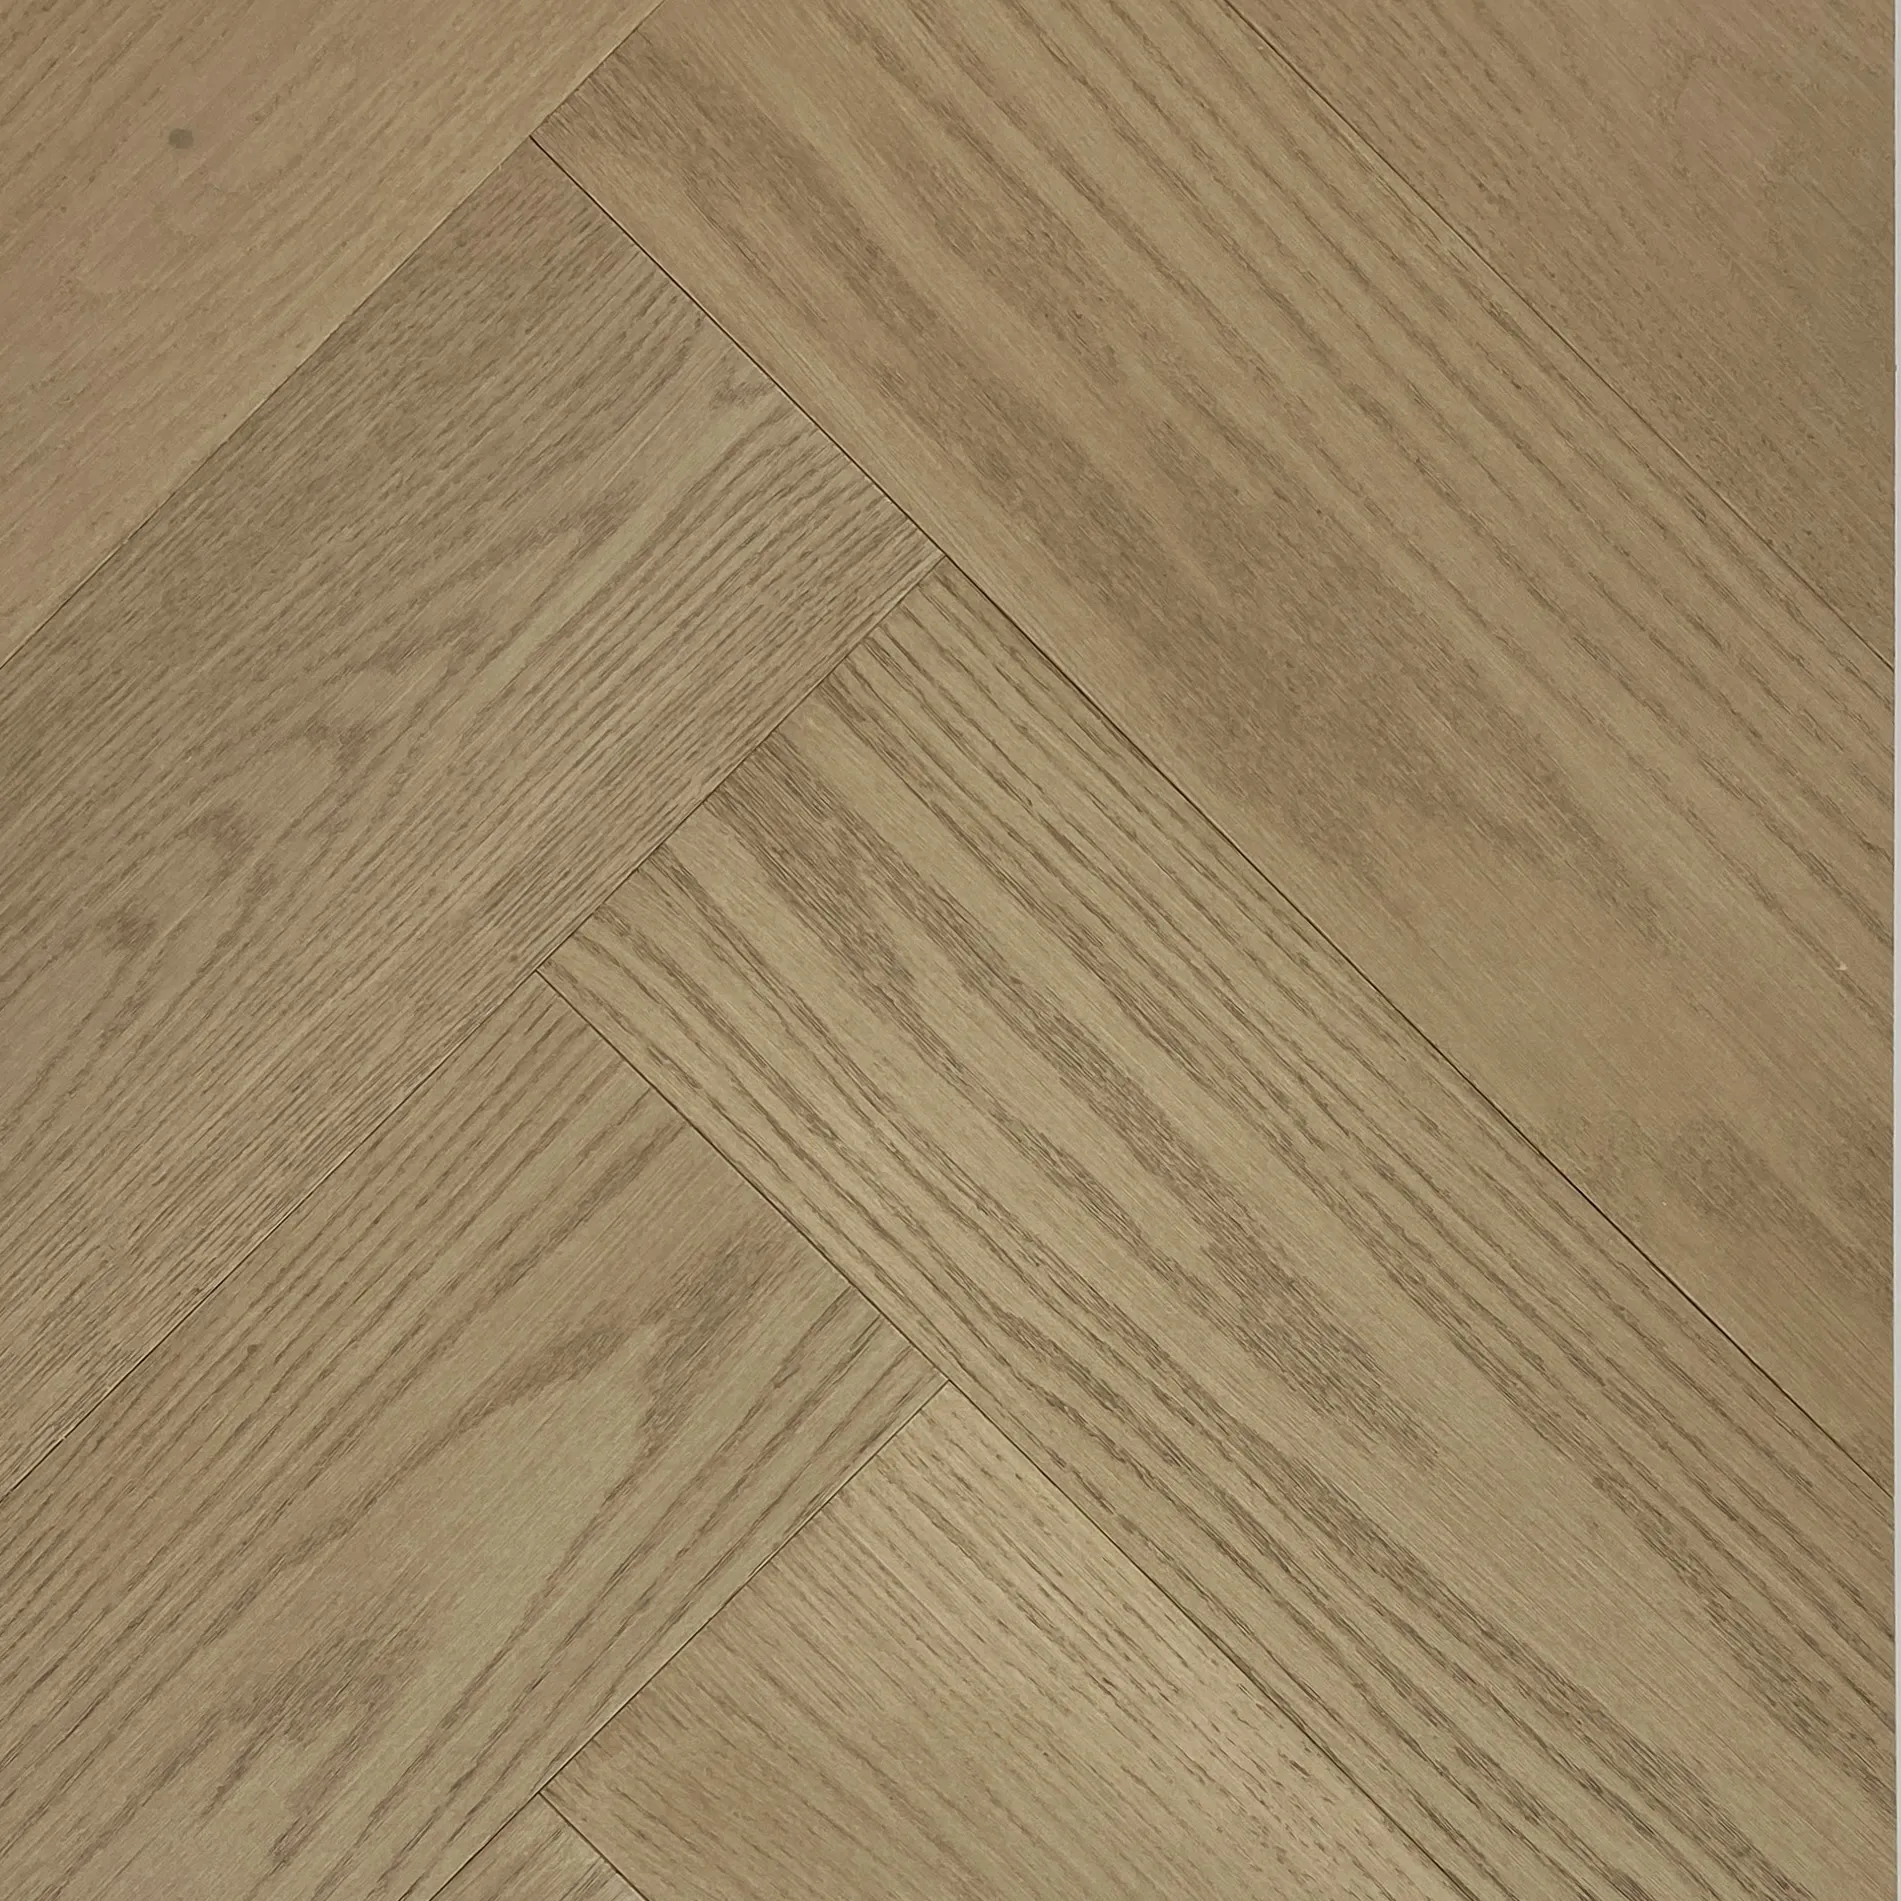
Based on thousands of listing photos and staging projects, these flooring colors consistently photograph beautifully:
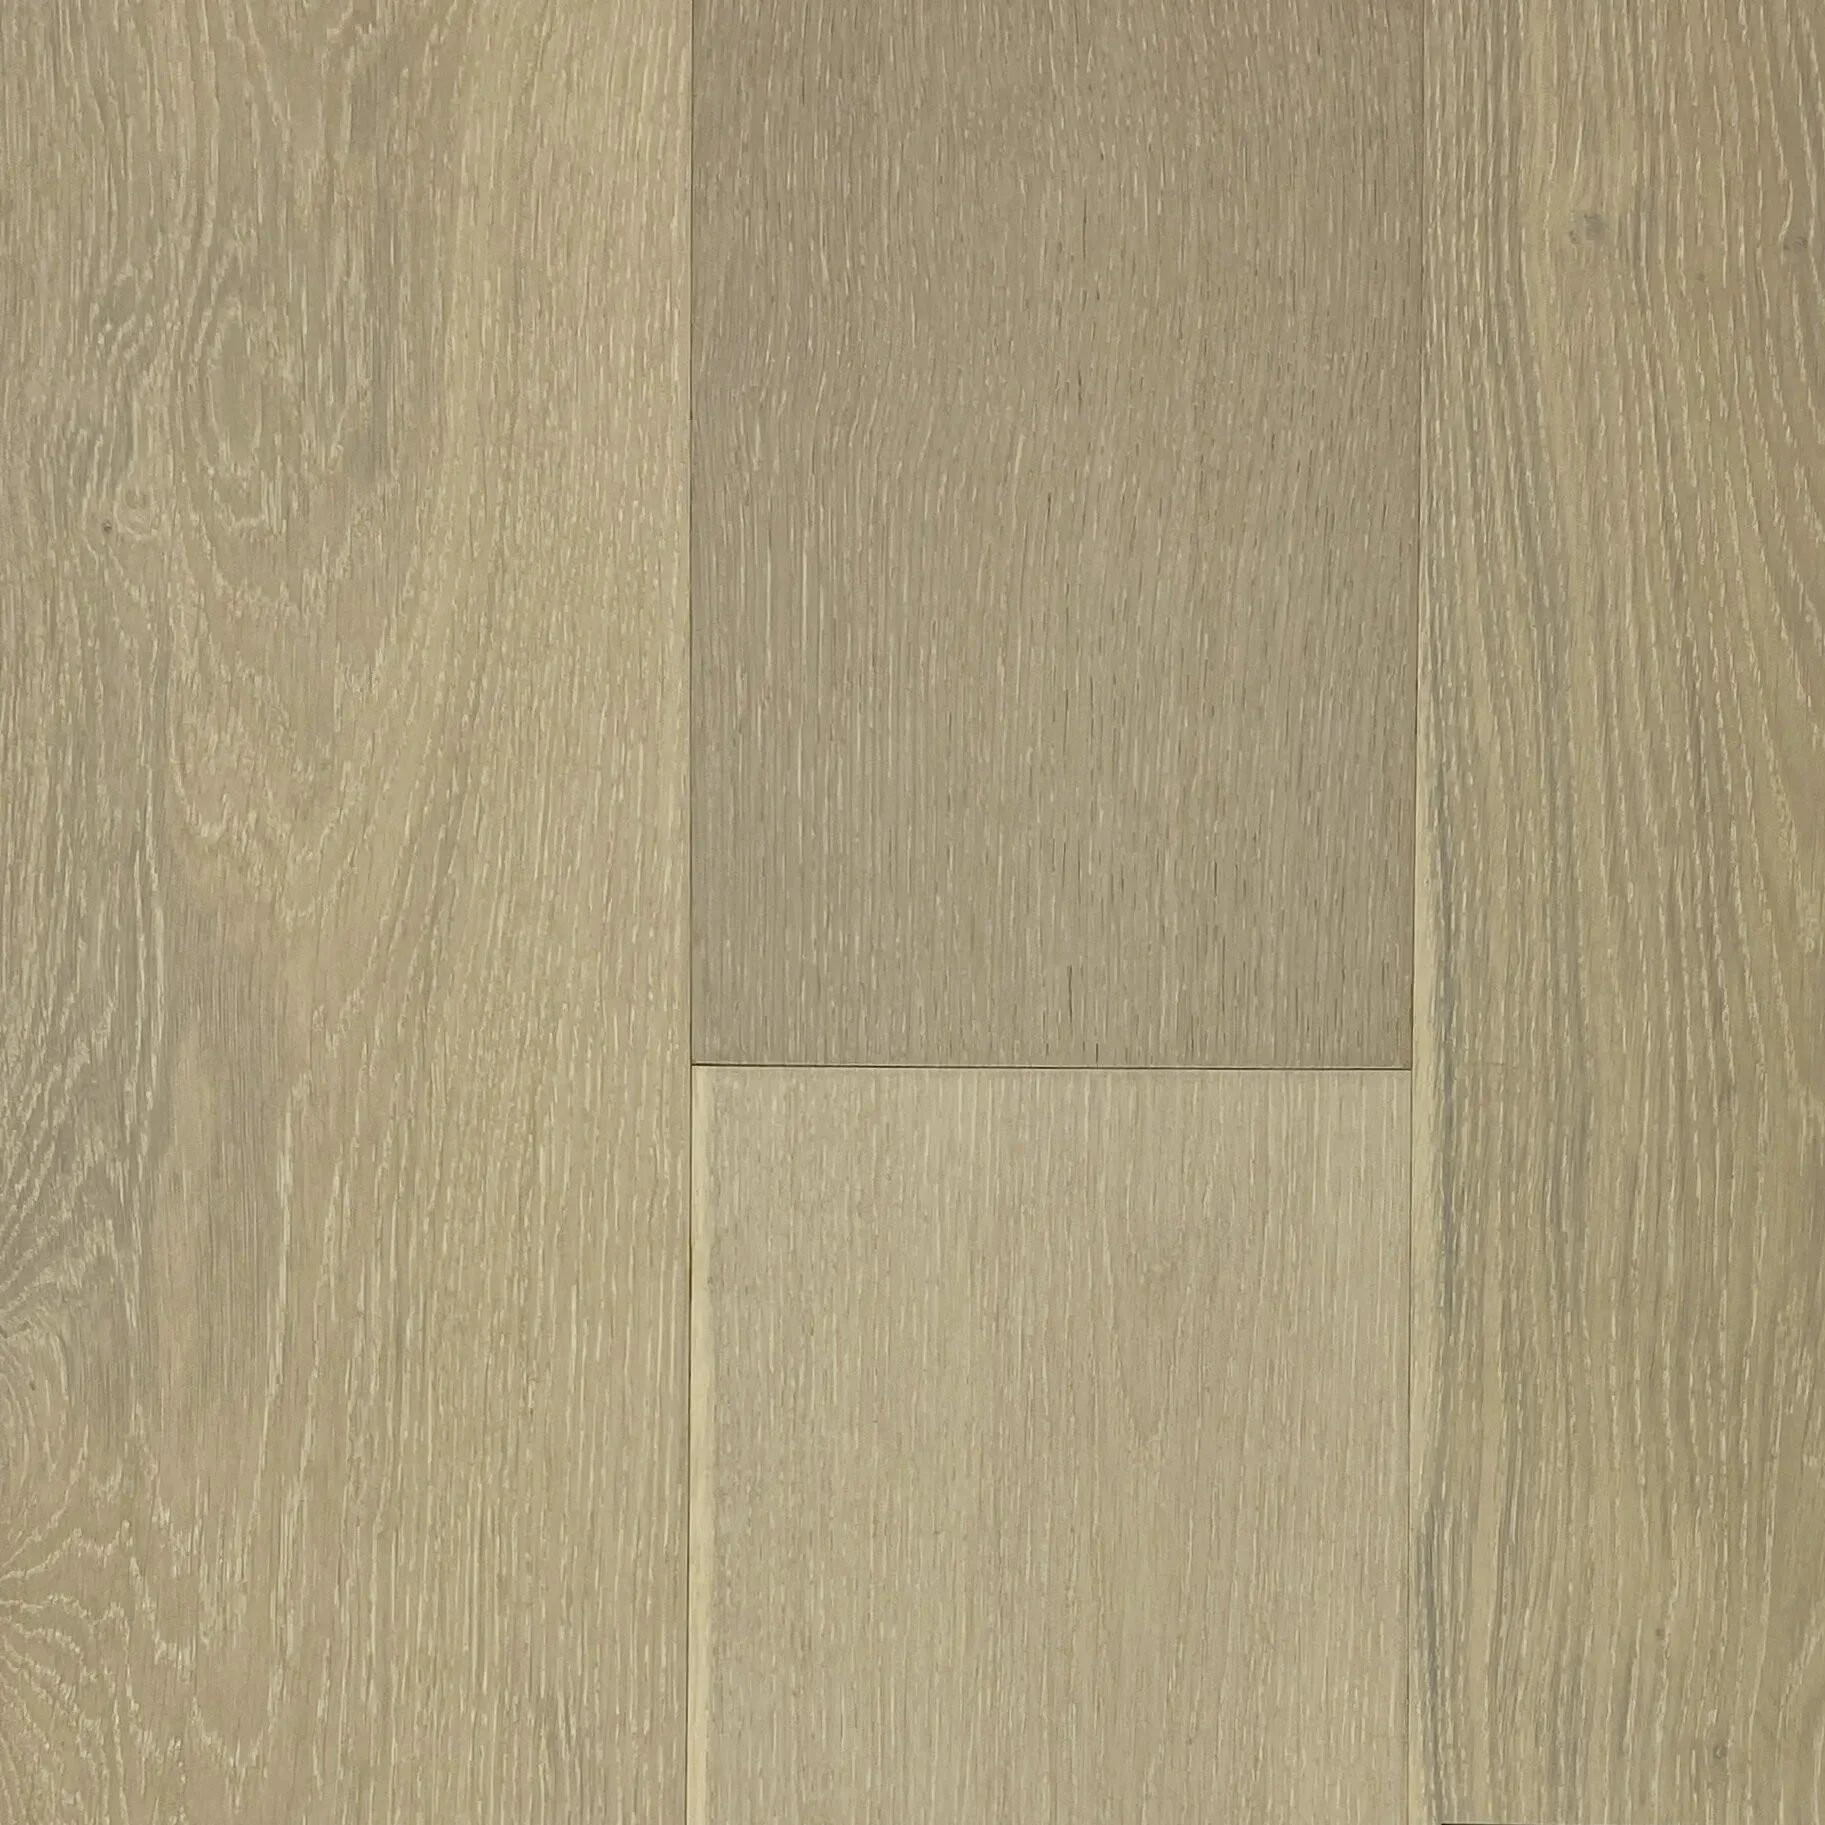
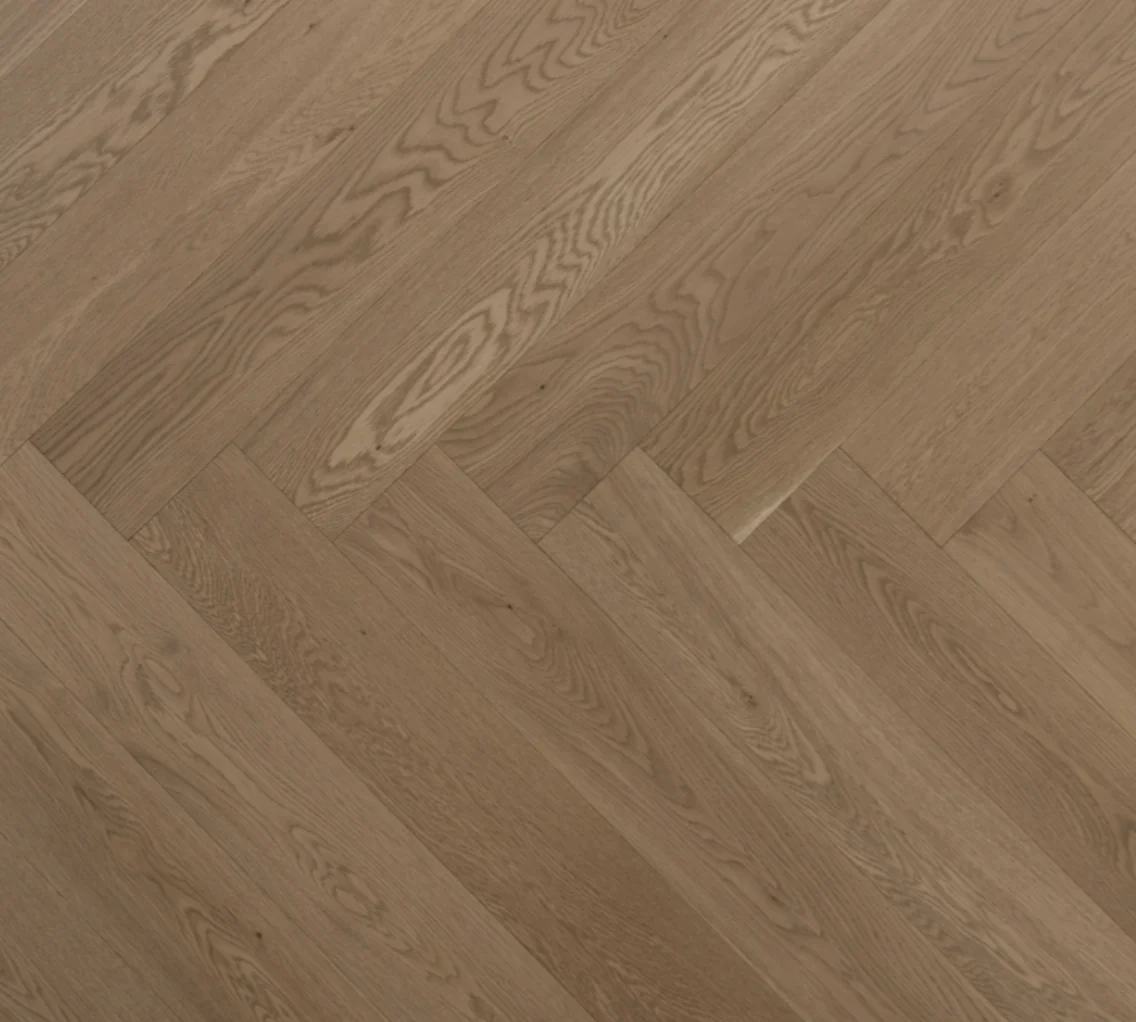
#1: Natural Oak (Light to Medium Tone)
#2: Light Grey-Brown (Greige)
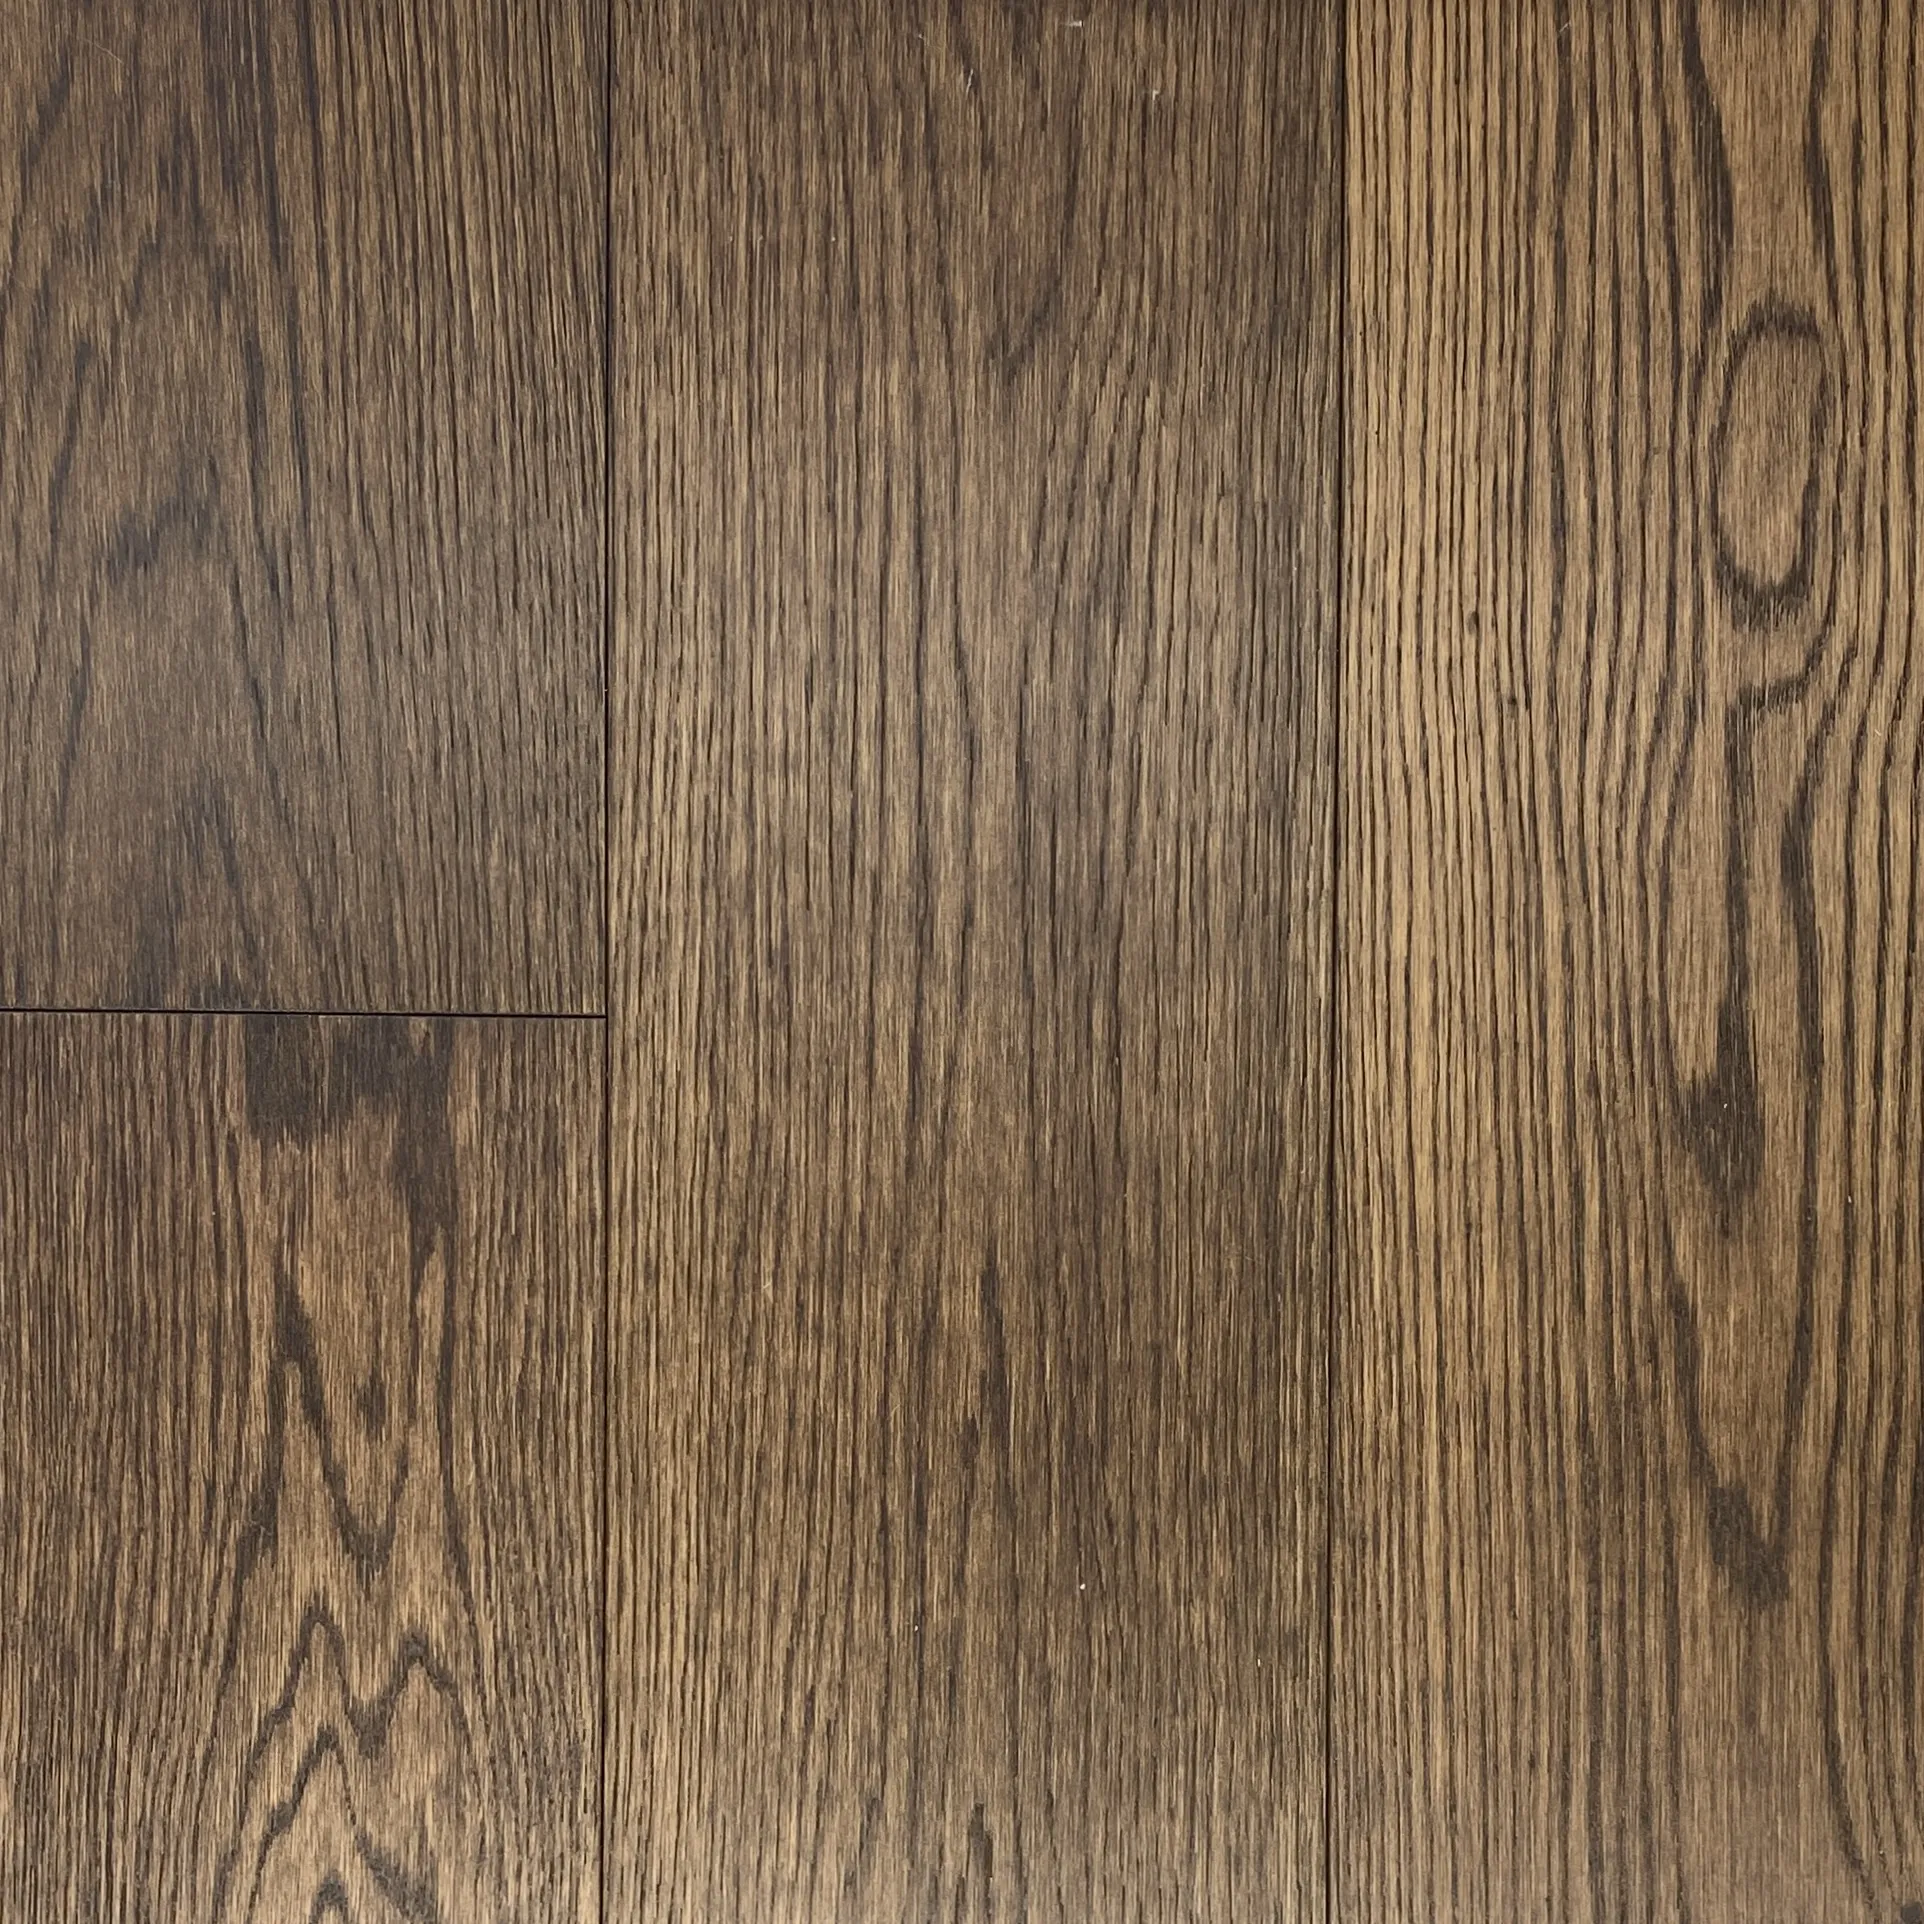
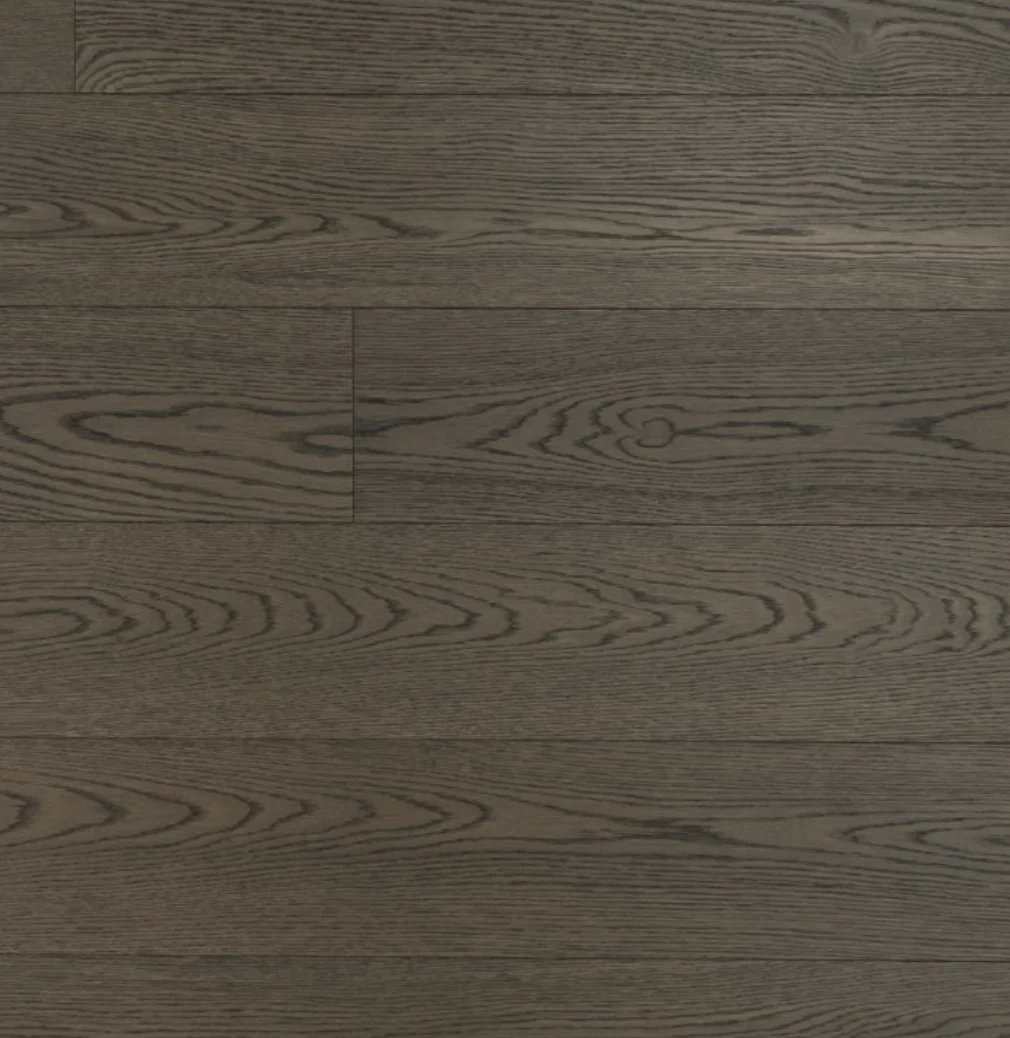
#3: Warm Walnut (Medium-Dark but Not Black)
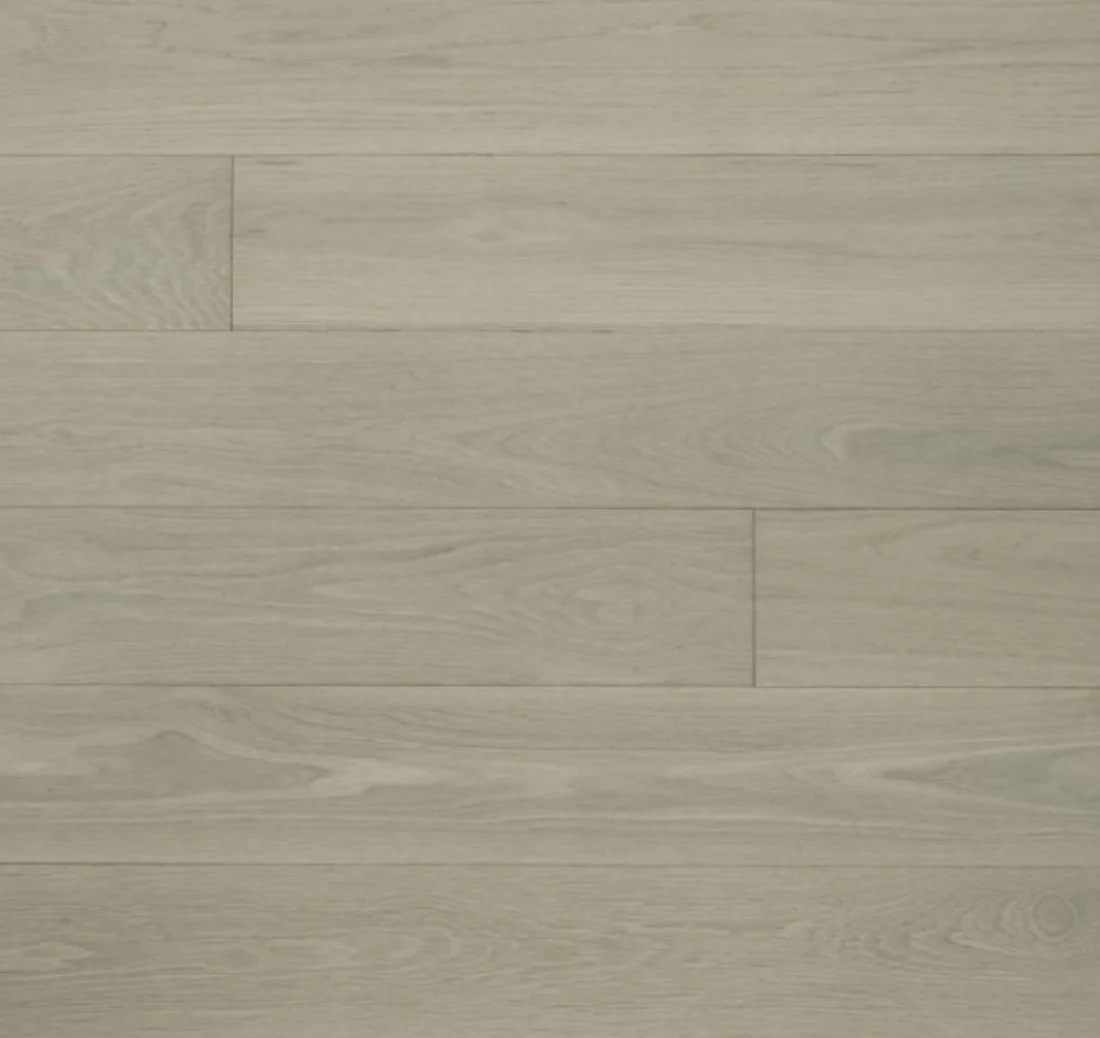
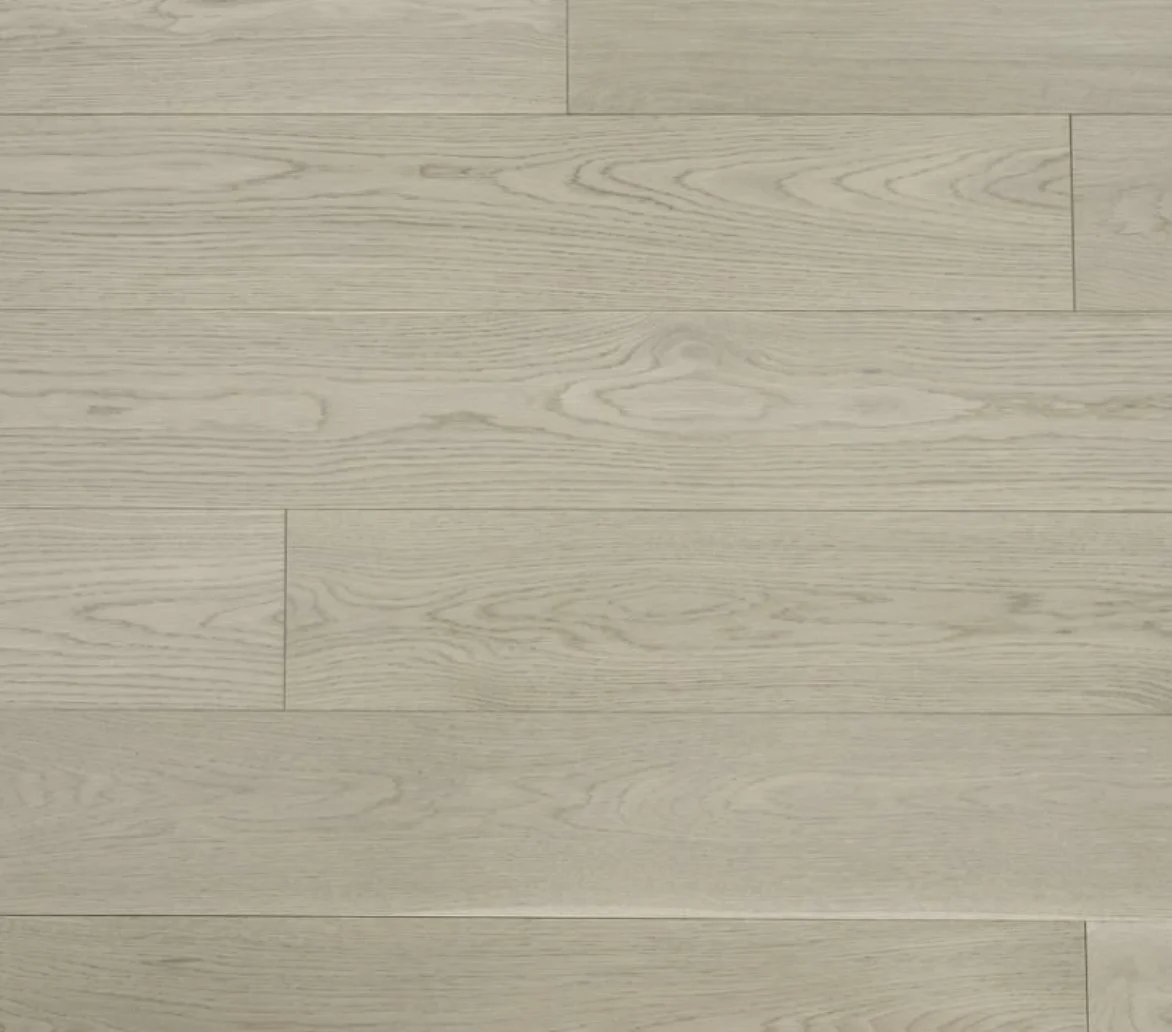
#4: Whitewashed or Light Blonde
❌ Pure Grey (Cool-Toned)
❌ Very Dark (Espresso, Black)
❌ Orange-Toned (Builder-Grade Oak from 1990s-2000s)
❌ High-Contrast or Busy Patterns
Professional photographers compose listing photos using visual hierarchy. Here’s what buyers notice first:
1. Light and brightness (overall feel of the space) 2. Room size perception (affected by flooring color) 3. Focal points (furniture arrangements, feature walls) 4. Color palette (staging + flooring must harmonize) 5. Details and finishes (hardware, fixtures, accessories)
Flooring affects positions #1, #2, and #4 on this list. It’s not a “detail”—it’s foundational to photo success.
Your staging color palette must work with existing flooring. Here’s how to adapt:
For Light Oak/Natural Wood:
For Grey/Greige Floors:
For Dark Walnut:
For Whitewashed/Light:
Every listing has a hero shot—the photo that appears first in online listings and drives clicks. This photo typically shows:
Flooring is prominently visible in all hero shot angles.
When consulting with sellers, view the property from the perspective of these hero shots:
“This is the angle buyers will see first online. Notice how much of the frame is flooring? In this shot, flooring is 30-40% of the visual composition. That’s why I’m recommending updates—this first impression determines whether buyers schedule showings or scroll past.”
If you’re working with sellers hesitant about flooring costs, consider this approach:
Step 1: Take “before” photos with existing flooring (don’t stage yet)
Step 2: Have professional photos taken showing competing listings with updated flooring
Step 3: Show sellers side-by-side comparison:
The visual evidence is undeniable. Sellers immediately see why flooring matters.
Here’s a conversation that happens on nearly every staging project with flooring updates:
Seller: “Can we do the flooring after you stage?”
Stager: “No, flooring must come before staging.”
Seller: “Why? Can’t we just move the furniture?”
Stager: “Moving staging furniture costs $800-$1,200, damages pieces, delays listing by 2 weeks, and creates chaos. We need a clear sequence.”
This section gives you the timeline framework to keep projects on track.
Phase 1: Decision and Planning (Week 1-2)
Phase 2: Flooring Installation (Week 3-4)
Phase 3: Staging Installation (Week 5)
Phase 4: Photography and Listing (Week 6)
Total timeline: 6 weeks from consultation to listing
Practical reasons:
Quality reasons:
Professional reasons:
The non-negotiable rule: Flooring happens before staging. No exceptions.
Sometimes sellers have urgent listing deadlines. Here’s the absolute fastest timeline that doesn’t compromise quality:
Week 1 (Days 1-4):
Week 2 (Days 5-9):
Week 3 (Days 10-14):
Total: 14 days from consultation to listing
This only works if:
One delay breaks the entire timeline. Recommend the 6-week standard timeline whenever possible.
The problem: Seller takes 3 weeks to choose flooring, blowing the timeline.
Your response (in writing):
“Our original target listing date was [DATE]. Based on material lead times and installation scheduling, we’re now looking at [NEW DATE], which is 4 weeks later.
Here’s the impact: – Additional 4 weeks of mortgage, utilities, and carrying costs: approximately $[CALCULATE] – Missing peak buying season (if applicable) – Competing properties may list before yours
I understand decision-making takes time, but delayed flooring decisions have real financial consequences. Moving forward, I need material ordered by [DEADLINE] to stay on any reasonable timeline.”
Document delays clearly so sellers understand the cost of indecision.
Seller: “My brother-in-law can do the floors in a weekend to save money.”
Your response:
“I need to be direct about this: I can’t stage around amateur flooring installation. Here’s why:
Professional installers: – Carry liability insurance (protects you if something goes wrong) – Provide warranties on installation (1-5 years typically) – Complete work in 3-5 days with quality results – Use proper tools and techniques that ensure longevity
Amateur installation often results in: – Hollow-sounding floors (poor underlayment) – Visible gaps or uneven transitions – Floors that squeak or shift – No warranty or recourse if problems arise
Buyers notice poor installation quality. It undermines the entire staging investment. If we’re investing $4,000 in staging and $8,000 in materials, we need professional installation to protect that investment. I can recommend trusted installers who work on staging timelines.”
Flooring doesn’t happen in isolation. Coordinate with other trades:
Paint:
Baseboard/Trim:
Kitchen/Bathroom Renovations:
Appliances:
Your coordination responsibility:
Send sellers a trade sequence document:
“Here’s the order trades must complete work to avoid delays and damage:
Week 1: Painting throughout Week 2: Flooring installation Week 3 (Day 1-2): Baseboards and trim Week 3 (Day 3-4): Appliance installation Week 3 (Day 5-7): Staging installation Week 4: Photography and listing
Any trade working out of sequence causes delays and potential damage to completed work. Please share this schedule with all contractors.”
For staging professionals coordinating complex pre-listing renovations, Club Ceramic Cambridge offers project management support to ensure flooring installation aligns with staging schedules and trade sequencing.
Data and theory are helpful. But nothing convinces sellers like real examples of how flooring decisions affected sale outcomes for properties similar to theirs.
These five case studies represent common scenarios staging professionals encounter. Use them in consultations to illustrate your recommendations.
Property Details:
Initial Condition:
Stager Recommendation:
Seller Decision:
Staging Approach:
Photography Outcome:
Market Response:
Offer Received (Day 47):
Seller Negotiation:
Final Sale: $670,000 (52 days on market)
Financial Analysis:
Lesson Learned:
The seller “saved” $5,200 by declining flooring updates but lost $17,500 in sale price and carrying costs. Net loss: $12,300.
Beautiful staging couldn’t overcome worn carpet that buyers fixated on during every showing. The staging investment of $4,500 delivered minimal ROI because flooring issues dominated buyer perception.
Property Details:
Initial Condition:
Stager Recommendation – Option A (Full Update):
Stager Recommendation – Option B (Strategic Update):
Seller Decision:
Staging Approach:
Photography Outcome:
Market Response:
Offers Received:
Final Sale: $649,000 (4 days on market)
Financial Analysis:
Lesson Learned:
You don’t always need to update every square foot of flooring. Strategic updates in high-visibility, high-traffic areas deliver 80% of the impact at 50-60% of the cost.
The key insight: Buyers make overall judgments about property condition. When the spaces they see first (living room, dining room, entry) feel updated and move-in ready, they’re far more forgiving of bedroom carpet that’s “just okay.”
This seller invested $9,200 total and gained $24,000 in sale price. That’s 261% ROI in 4 days on market.
Property Details:
Initial Condition:
Stager Recommendation – Option A:
Stager Recommendation – Option B:
Seller Decision:
Staging Approach:
Photography Outcome:
Market Response:
Offers Received:
Final Sale: $755,000 (6 days on market)
Financial Analysis:
Lesson Learned:
Material choice must match property character and buyer expectations. In a 1920s craftsman bungalow, authentic hardwood isn’t just flooring—it’s a heritage feature that buyers in this market segment specifically seek.
LVP would have looked fine but erased the authentic character that made this property special. Refinishing original hardwood cost $1,200 LESS than new LVP while delivering far superior buyer appeal.
The “original hardwood floors throughout” description became a major selling point in listing copy, showing photos, and buyer feedback. Worth every penny of the $4,800 refinishing cost.
Property Details:
Initial Condition:
Stager Recommendation:
Seller Response:
Stager Decision:
Seller Decision:
Staging Approach:
Photography Outcome:
Market Response:
Week 1-4:
Week 5:
Week 7:
Seller Decision:
Two Months Later:
Second Listing:
Financial Analysis: Original Strategy (No Flooring):
Final Strategy (With Flooring):
Total Cost of Refusing Flooring Initially:
If Flooring Had Been Done Initially:
Net loss from refusing flooring updates: Approximately $11,000+ plus months of stress and failed listing
Lesson Learned:
Some flooring conditions are non-negotiable. When flooring is severely damaged—buckling, separating, safety concerns—no amount of staging overcomes buyer objections.
The seller believed they were “saving money” by declining $6,200 in flooring costs. Instead, they:
Stager’s Responsibility: When flooring is this damaged, you must be willing to decline the project or dramatically reduce fees. Your reputation depends on successful outcomes. Staging severely damaged properties harms your business more than turning down the project.
Property Details:
Initial Condition:
Stager Recommendation:
Seller Response:
Before/After Photography Comparison:
BEFORE (with original orange oak):
AFTER (with light natural LVP):
Market Response:
Original plan (without flooring update):
Actual results (with flooring update):
Buyer Agent Feedback:
Financial Analysis:
ROI Calculation:
Lesson Learned:
Photography is everything in modern real estate. Buyers scroll through dozens of listings online, spending 30-60 seconds per property. Your listing must stop the scroll.
Dated flooring—even if undamaged—makes entire properties feel old in photos. Modern, light-colored flooring makes properties feel fresh, updated, and move-in ready.
This seller hesitated because existing flooring was “functional.” But functional doesn’t drive buyer interest. Beautiful, photogenic, modern interiors drive offers.
The $7,500 flooring investment directly resulted in:
This is the power of strategic flooring updates for staging success.
Most home stagers focus exclusively on furniture, styling, and decor. They walk into properties, see worn flooring, and work around it—hoping buyers overlook the foundation in favor of the furniture.
You now have a different approach.
By incorporating flooring strategy into every consultation, you:
Every initial staging consultation should now include:
✅ Flooring assessment using the 5-Point Severity Scale ✅ Photography of flooring conditions for seller documentation ✅ ROI calculation showing cost vs. sale price impact ✅ Material recommendations (LVP vs. hardwood) based on property value and buyer demographics ✅ Timeline coordination ensuring flooring happens before staging ✅ Clear documentation of seller decisions (especially if they decline recommendations)
Seller: “Do we really need to update the flooring?”
You (confidently): “Let me show you exactly why I’m recommending this…”
[Pull out your phone, show case studies from this guide]
You: “This property declined flooring updates and lost $17,500 in sale price. This property invested $7,500 in flooring and gained $23,000 at closing. The math consistently favors updating flooring before staging—especially at your price point. I want your staging investment to deliver maximum results, and that requires a solid foundation.”
This guide gave you the framework. Now put it into practice:
1. Create your flooring assessment kit:
2. Build supplier partnerships:
3. Update your service offerings:
4. Document your successes:
You’ll encounter sellers who refuse flooring recommendations despite clear evidence. You’ll face properties where damaged flooring makes successful staging nearly impossible.
In these situations, remember: your reputation is more valuable than any single staging fee.
It’s better to:
…than to stage a property that won’t deliver results and harm your professional reputation.
Great staging requires a solid foundation. When that foundation is missing, be honest about limitations.
The staging industry is competitive. Stagers with similar furniture, similar styling, and similar pricing are competing for the same clients.
Flooring strategy is your differentiator.
By mastering the content in this guide—ROI analysis, material selection, timeline coordination, photography strategy, and client communication—you become more than a furniture stylist.
You become a trusted advisor who helps sellers make profitable decisions that maximize their most valuable asset: their home’s sale price.
This is the future of professional home staging.
Club Ceramic Cambridge specializes in flooring solutions for home staging professionals, real estate investors, and homeowners preparing properties for sale.
We understand that staging projects operate on tight timelines with specific aesthetic requirements. Our staging-focused services include:
For staging professionals seeking reliable flooring partners: (647) 394-6030
For homeowners preparing to list: clubceramiccambridge.ca


We carry hardwood flooring in every finish and style imaginable:


KW Region’s diverse architectural landscape requires flooring solutions that work with various home styles and ages. Our hardwood flooring expertise extends to:
Authentic solid hardwood and period-appropriate finishes that honour the character of the area’s heritage properties while meeting modern durability standards.
Work with us from the planning stages to select hardwood flooring that fits your budget and timeline. We supply builders and contractors throughout the region.
Engineered hardwood solutions that meet acoustic requirements, install over concrete, and provide the elegance of real wood in multi-unit dwellings.
Moisture-resistant engineered hardwood and luxury vinyl options perfect for the region’s below-grade spaces, offering beauty without the worry.
Durable hardwood species and protective finishes that withstand the demands of high-traffic kitchen environments while maintaining their beauty.
High-traffic commercial-grade hardwood and luxury vinyl solutions for businesses, offices, restaurants, and retail spaces.
Southwestern Ontario experiences significant seasonal temperature and humidity variations. We help customers select hardwood flooring products and installation methods that account for Ontario’s climate challenges.
Engineered hardwood, in particular, offers superior dimensional stability for our region, while proper acclimation and professional installation ensure your floors perform beautifully for decades.