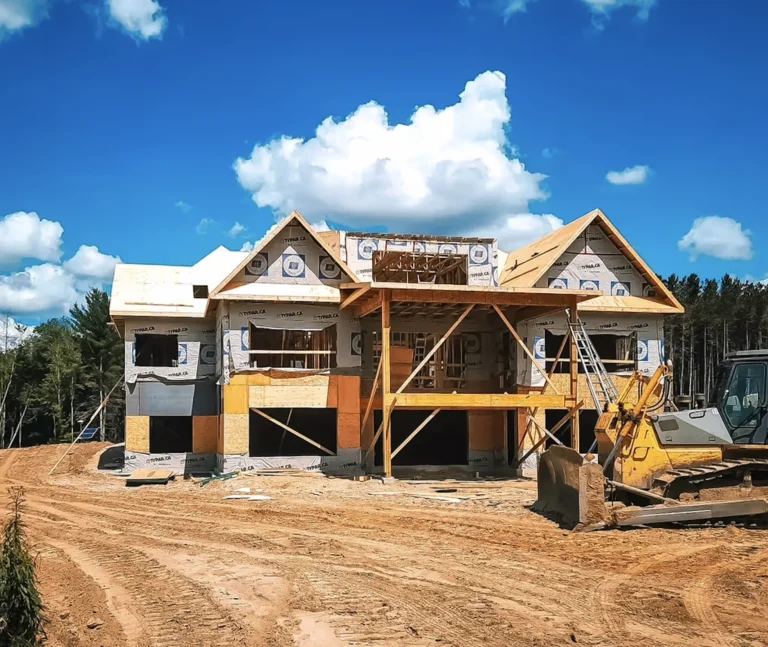
Is It Normal for New Floors to Squeak?
Let’s start with the most important question: Should new floors in new construction make noise?
The short answer is no. Properly installed flooring in a newly constructed home should be silent. Period.
This isn’t about having unrealistic expectations or being overly picky. When you’re paying for new construction—whether it’s a $400,000 home or a $1 million custom build—silent floors are a fundamental quality standard, not a luxury feature. Squeaks, creaks, and clicks indicate that something in the installation process went wrong.
New construction means:
- Quality materials installed correctly
- Professional installation following manufacturer specifications
- Proper preparation of all substrate surfaces
- No shortcuts taken to meet timelines
Squeaky floors mean one or more of these standards wasn’t met. Don’t let builders or contractors tell you otherwise.
When Squeaks Might Be Temporary
There are very limited situations where sounds might be acceptable temporarily:
If your luxury vinyl plank (LVP) or laminate was just installed in the past 48-72 hours, minor settling sounds as the floor adjusts can be normal. Click-lock floating floors go through a brief settling period where the locking mechanisms fully engage. These sounds should be minimal and should resolve completely within a few days.
If you’re experiencing your first heating season and hearing occasional sounds as materials adjust to temperature changes, this can happen once. But even seasonal adjustment shouldn’t create persistent, noticeable squeaking.
If sounds are getting worse rather than better, or if they persist beyond the first week after installation, you have a real problem that requires attention.
Common Causes of Squeaky Floors in New Construction
Understanding what causes floor noise helps you advocate for proper repairs and avoid the same problems in future renovations.
Cause #1: Improper Flooring Acclimation
This is the single most common cause of squeaky LVP and laminate flooring in new homes.
What Acclimation Means
Flooring materials expand and contract in response to temperature and humidity. When flooring comes from a warehouse or delivery truck, it’s at whatever temperature and humidity level existed in those environments. Your home has different conditions—different temperature, different humidity levels.
Proper acclimation means bringing flooring materials into the room where they’ll be installed and leaving them there for 48-72 hours before installation. The boxes should be opened or at least have their packaging loosened to allow air circulation. This gives the flooring time to adjust to your home’s conditions, expanding or contracting to its stable size before being locked together.
Why Installers Skip This Step
Time pressure is the main culprit. Construction schedules are tight, and installers often arrive ready to complete the job in one day. Waiting two or three days for materials to acclimate feels like wasted time when they could be moving on to the next job.
Sometimes there’s nowhere to store materials during acclimation. The home might still have active construction in other areas, or the room might not be ready for materials to sit there for days.
In other cases, installers simply don’t understand how important acclimation is, or they’ve gotten away with skipping it before without obvious consequences.
The Result
When flooring that hasn’t properly acclimated is installed, it continues adjusting to your home’s environment after installation. Planks expand or contract, putting stress on the locking mechanisms. This stress creates friction and movement at the joints between planks, producing squeaks, clicks, and popping sounds when you walk across them.
The problem often worsens over time rather than improving, particularly as seasons change and humidity levels shift.
Cause #2: Subfloor Not Properly Secured
The subfloor is the foundation for your finished flooring. If the subfloor itself moves, any noise it makes transfers through to the floor you’re walking on.
How Subfloors Should Be Installed
Premium construction uses engineered subfloor materials like Advantech—a specially treated oriented strand board designed for subfloor applications. This material should be both glued and screwed to the floor joists beneath it.
The glue creates a permanent bond that prevents any movement between the subfloor and joists. Screws provide mechanical fastening and are typically placed every 6-8 inches along each joist. This combination creates a rock-solid, silent subfloor.
What Actually Happens
Many builders take shortcuts to save time and money. They might:
- Use only nails (faster than screws but less secure)
- Skip the glue entirely (one less step, one less material to buy)
- Use standard OSB instead of premium subfloor products
- Space fasteners too far apart (12-16 inches instead of 6-8 inches)
The Problem
Without both adhesive and proper fastener spacing, the subfloor can move slightly on the joists—sometimes just a few thousandths of an inch, but that’s enough. When you step on that section of floor, the subfloor flexes slightly, then rebounds. That movement creates friction between the subfloor and joists, producing the characteristic squeak you hear.
The worst part? You can’t see subfloor installation quality after the finished floor is installed. The only way you discover the problem is by hearing it.
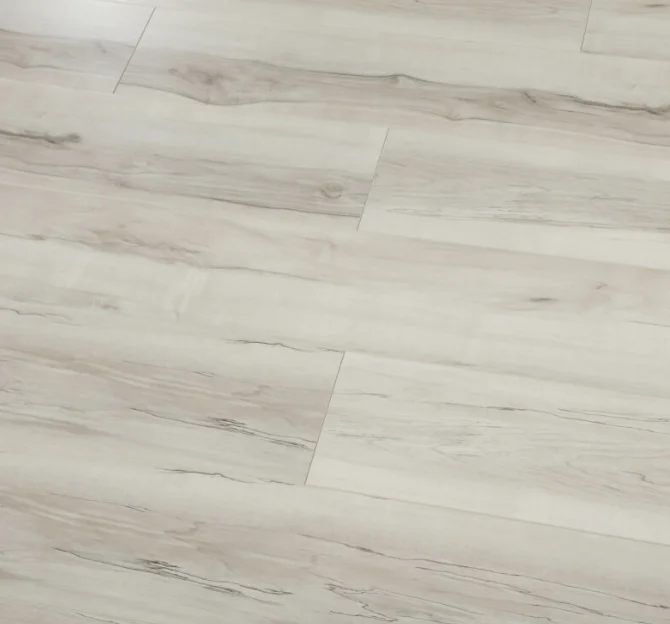
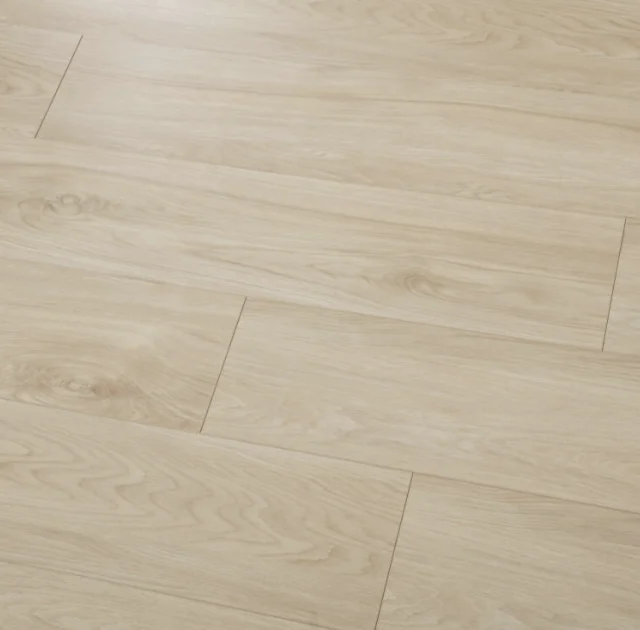
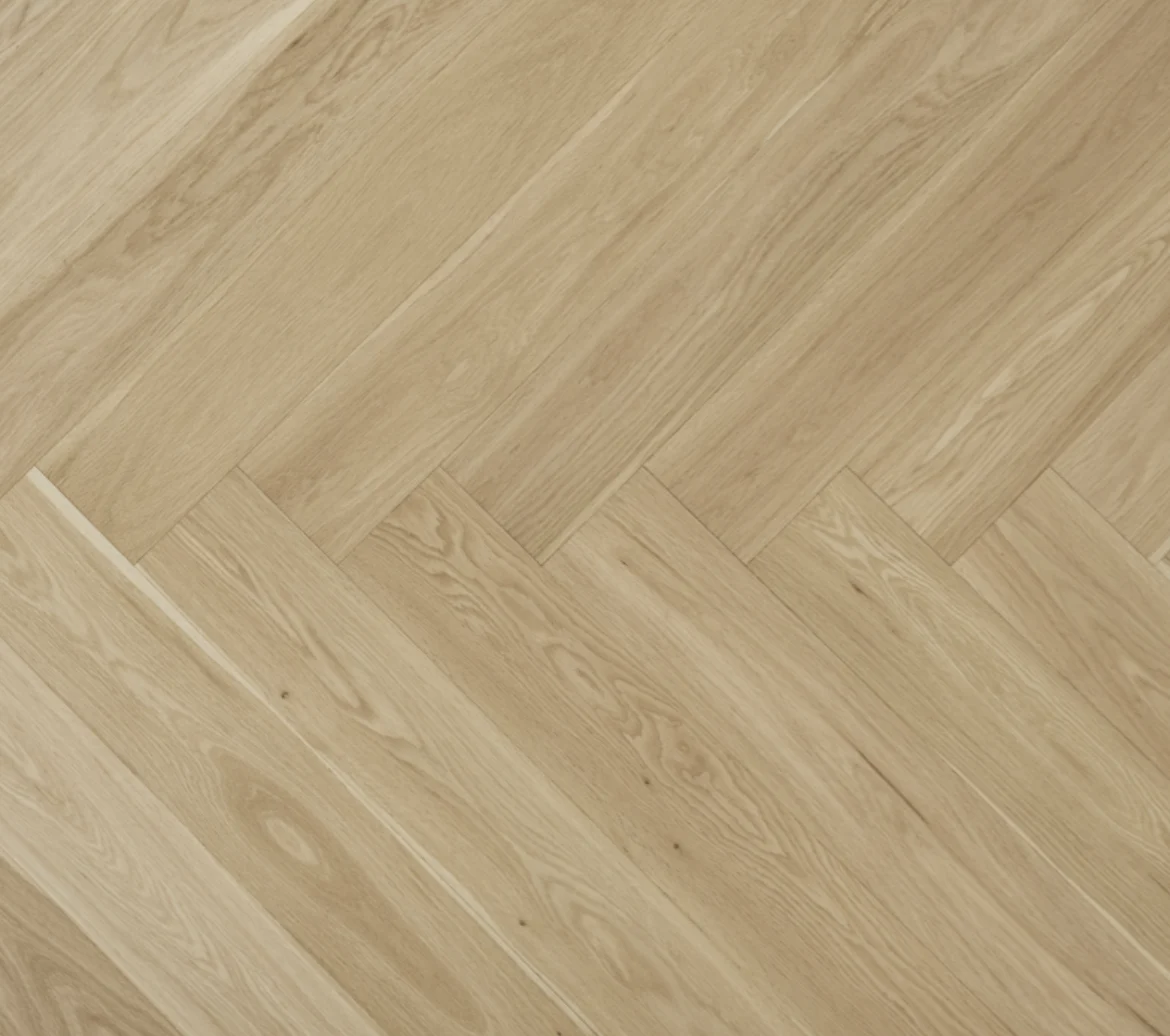
Cause #3: Insufficient Expansion Gaps
Floating floors—which include most LVP and laminate installations—must have expansion gaps around the entire perimeter of the room.
Why Expansion Gaps Matter
All flooring materials expand and contract with temperature and humidity changes. Floating floors need room to move. Without adequate space around the edges, the flooring expands until it pushes against walls, cabinets, or other fixed objects. This creates pressure throughout the floor that has nowhere to go.
Standard Requirements
Most floating floor manufacturers require ¼ to ½ inch gaps around all room perimeters and around any fixed objects like pipes, cabinets, or door frames. The gaps get covered by baseboards and transition strips, so they’re invisible when installation is complete.
When Installers Cut Corners
Time-pressed installers sometimes cut floors to fit more snugly than they should, leaving inadequate expansion space. This is especially common:
- Around cabinets where careful measuring takes time
- In doorways where installers want to minimize visible transitions
- Around pipes and obstacles where proper cuts are tedious
The Result
When humidity increases (summer, or when you start using humidifiers in winter), the flooring expands. With insufficient expansion gaps, the floor pushes against walls or obstacles. This creates pressure and friction at the plank joints, resulting in squeaks, clicks, and sometimes even buckling where the floor lifts slightly from the subfloor.
Cause #4: Debris Under the Flooring
This cause produces a slightly different sound—more of a crackle or crunch than a squeak—but it’s common enough to mention.
The Installation Mistake
Professional installation requires thoroughly cleaning the subfloor before laying finished flooring. Every speck of sawdust, every drywall screw that rolled into a corner, every bit of construction debris must be removed.
In the rush to complete installation, this cleaning step often gets shortchanged. Installers give the floor a quick sweep or vacuum but miss debris that’s embedded in subfloor texture or sitting in corners.
What Happens
Small particles—bits of drywall, wood chips, screws—get trapped between the subfloor and your finished flooring. When you step on these areas, your weight crushes down through the flooring onto these particles. The particles shift, crunch, or scrape against both surfaces, creating crackling or crunching sounds.
Sometimes this issue improves over time as particles get crushed to dust or work their way out. Often, though, it persists indefinitely, creating random noise in various locations across your floor.
Cause #5: Subfloor Not Level
Floating floors require level subfloors to function properly. Most manufacturers specify that the subfloor must be flat within 3/16 inch over any 10-foot span—a fairly strict tolerance.
Why Levelness Matters
When you install floating floor planks over an unlevel surface, the planks bridge across low spots and don’t sit flat. The locking mechanisms between planks must hold the flooring together while also spanning these voids, creating stress on the joints.
The Result
Walking across areas where the floor doesn’t sit flat on the subfloor causes the planks to flex. This flexing stresses the locking mechanisms, producing clicking or squeaking sounds. In severe cases, the locks can actually fail, causing planks to separate and create visible gaps.
Unlevel subfloors also make floors feel bouncy or unstable underfoot—you sense that something isn’t right even before you hear the noise.
Cause #6: Wrong Underlayment or Missing Underlayment
Floating floors typically require underlayment—a thin layer of foam, cork, or rubber between the subfloor and the finished flooring.
What Underlayment Does
Beyond providing cushioning and thermal insulation, underlayment serves as a sound dampening layer. It absorbs small movements and prevents direct contact between the hard flooring and hard subfloor, reducing noise transmission.
Some luxury vinyl planks come with underlayment pre-attached to the bottom of each plank. This built-in underlayment handles the cushioning and sound control, but the subfloor still must be clean and level.
When It Goes Wrong
Using the wrong type of underlayment—or skipping it entirely when it’s required—allows every footstep to transmit directly through the flooring to the subfloor. Any minor imperfections, any small movements, all become audible.