Welcome to Club Ceramic Cambridge — your trusted partner for complete premium flooring options in Cambridge, Kitchener, Waterloo, Guelph, and surrounding areas.
If you’re standing in your home looking at old hardwood floors and wondering whether you can simply lay laminate flooring right over them, you’re not alone. This is one of the most common questions homeowners ask when planning a flooring renovation. The short answer is yes—but there’s a right way and a wrong way to do it, and the difference between the two will determine whether your new floor lasts for decades or starts showing problems within months.
At Club Ceramic Cambridge, we’ve guided countless Cambridge homeowners through this exact scenario. Many older homes in our area have original hardwood floors that are worn, damaged, or simply not to the homeowner’s taste. Rather than undertaking an expensive hardwood refinishing project, installing laminate flooring over the existing hardwood can be a cost-effective solution—if done correctly.
This comprehensive guide will walk you through everything you need to know: how to assess your existing floor, when installation over hardwood makes sense (and when it doesn’t), how to prepare the surface properly, and the critical steps that separate successful installations from failed ones.
Working on a new home project? Call now for a free estimate: (647) 394-6030
Before you can make an informed decision about installing laminate over your existing floor, you need to understand exactly what you have. This sounds simple, but it’s where many DIY projects go wrong from the start.
Is It Actually Hardwood Flooring?
Not all wood floors are created equal. There’s a significant difference between hardwood flooring (intended as a finished surface) and a wood subfloor (intended to be covered). Here’s how to tell the difference:
Hardwood flooring typically consists of:
Wood subflooring typically consists of:
To identify what you have, look at the width of the boards, the type of wood, and the quality of finish. If you have narrow strips of quality hardwood with any kind of finish, you likely have actual hardwood flooring. If you have wide, rough planks with gaps and no finish, you’re probably looking at a subfloor that was never meant to be the final surface.
Why Does This Matter?
The distinction is crucial because it affects your installation approach. Quality hardwood flooring that’s simply worn or dated might be worth refinishing instead of covering. A rough subfloor will require more preparation work before laminate installation can succeed.
Not every situation calls for covering existing hardwood with laminate. Let’s look at scenarios where it’s the right choice—and when it isn’t.
Good Reasons to Install Laminate Over Hardwood:
Extensive Damage Beyond Repair If your hardwood has severe water damage, deep gouges, pet stains that have penetrated the wood, or structural issues in multiple areas, refinishing may not be viable. Refinishing can only remove surface-level damage—it can’t fix wood that’s rotted, warped, or structurally compromised.
Partial Previous Refinishing Some homes have hardwood that was refinished only in certain areas (perhaps where furniture didn’t cover), leaving you with a patchwork appearance. Multiple refinishing attempts over decades can also leave wood too thin to refinish again safely.
Budget Constraints Professional hardwood refinishing in the KW Region typically costs $3-$8 per square foot, while quality laminate installation (including materials) can run $3-$5 per square foot if you do the work yourself. If budget is tight, laminate offers a fresh look without the refinishing investment.
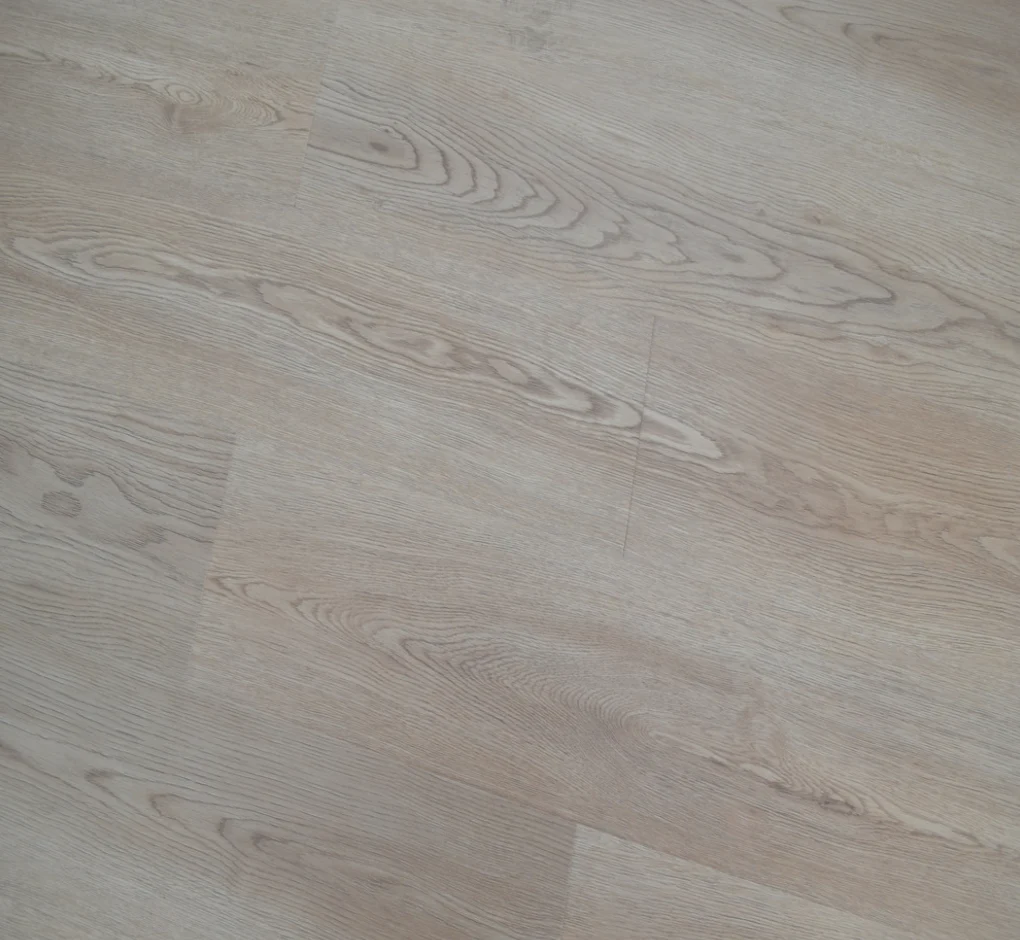
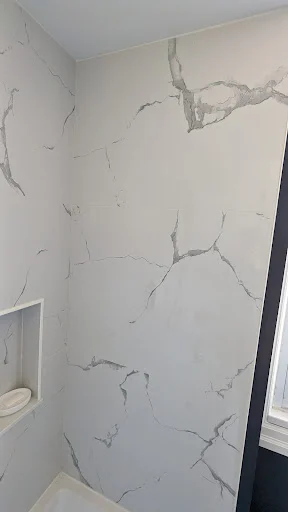
Desire for Different Aesthetics Maybe you simply don’t like the look of traditional hardwood strips. Modern laminate offers looks that hardwood can’t replicate: wide plank styles, exotic wood appearances, or even non-wood looks like stone or concrete patterns.
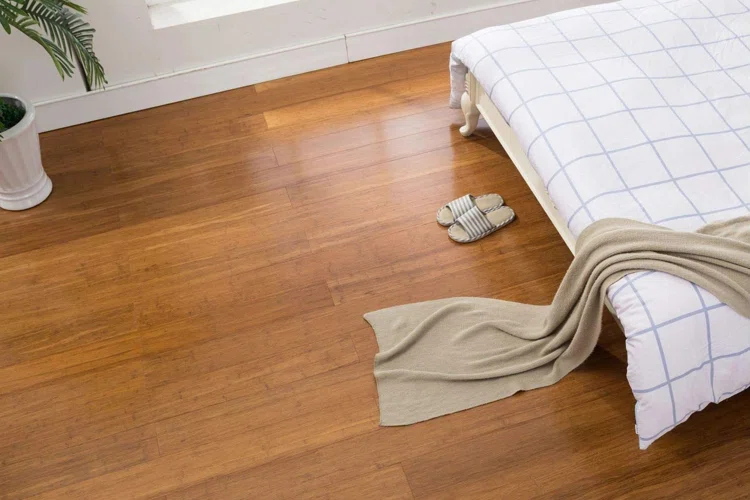
Active Household Needs Laminate is more resistant to scratches, moisture, and wear than traditional hardwood, making it ideal for homes with pets, children, or high traffic. If you’re covering hardwood specifically to get better durability, laminate makes sense.
When You Should NOT Cover Hardwood:
Quality Hardwood in Decent Condition If you have solid oak, maple, or cherry strips in reasonable condition, refinishing will almost always be the better long-term investment. Hardwood flooring adds significant value to your home, while laminate is considered a downgrade in real estate terms.
Thin Subfloor Concerns If your existing wood floor is the only layer above your joists and it’s already in questionable structural condition, adding weight without addressing underlying issues is a mistake. Consult a professional before proceeding.
Basement or High-Moisture Areas Neither hardwood nor laminate is ideal for basements or areas with moisture issues. If your hardwood has moisture damage, installing laminate over it without addressing the moisture source will just ruin your new floor too.
Here’s the truth that surprises most first-time laminate installers: the single biggest factor determining whether your laminate installation succeeds or fails is whether your existing floor is level.
Laminate flooring is a floating floor system. The planks click together and rest on top of underlayment without being attached to the subfloor. This design requires a level, smooth surface. If the floor beneath isn’t level, several problems occur:
Gaps Between Planks When laminate is installed over an uneven surface, high spots prevent planks from sitting flat. This creates stress on the locking mechanisms, causing planks to separate and leaving visible gaps. These gaps worsen over time as foot traffic flexes the floor.
Locking System Failure The tongue-and-groove or click-lock systems that hold laminate planks together are engineered to work when planks are on the same plane. Uneven surfaces cause the locks to bear weight they weren’t designed for, leading to breakage and plank separation—sometimes within weeks of installation.
Hollow Sounds and Flex An uneven floor creates voids under the laminate. When you walk on these areas, the floor feels bouncy and sounds hollow. This isn’t just annoying—it indicates the floor isn’t properly supported and will fail prematurely.
Premature Wear High spots concentrate weight and traffic on small areas of the laminate surface, causing accelerated wear, cracking, and damage.
What “Level” Actually Means
Most laminate manufacturers specify that the subfloor must be level within 3/16 inch over a 10-foot span. Some high-end products are more forgiving (¼ inch over 10 feet), while others are stricter (⅛ inch over 10 feet). Check your specific product’s requirements.
This doesn’t mean the floor needs to be perfectly horizontal—it can slope gradually. What matters is that there are no humps, dips, or sudden changes in elevation.
Before you buy a single piece of laminate, assess your existing floor’s levelness. This 30-minute investment can save you from a failed installation.
Tools You’ll Need:
The Assessment Process:
Check Multiple Directions Place your straightedge on the floor and look for gaps underneath. Do this in multiple locations across the room, running both parallel and perpendicular to how your laminate will be installed. Pay special attention to:
Measure the Gaps When you find a gap under your straightedge, shine your flashlight through it and measure the gap’s size. Write down the location and measurement. If gaps exceed your laminate’s specifications (typically 3/16 inch), you’ll need to level before installation.
Identify the Type of Problem Not all unlevel floors are the same:
Check for Structural Issues While you’re assessing levelness, also check for:


Once you’ve identified levelness issues, you have several options. The best choice depends on the severity of the problem and your budget.
Option 1: Sanding High Spots
Best for: Minor high spots on hardwood that’s at least ½ inch thick
If you have a few isolated high spots and your hardwood is thick enough, you can sand them down. Use a belt sander or orbital sander with coarse-grit sandpaper (40-60 grit). Sand gradually, checking frequently with your straightedge. This is the most economical solution but only works for minor issues.
Pros: Inexpensive, doesn’t raise floor height, fast for small areas Cons: Creates lots of dust, only works for high spots (not dips), can only remove limited material
Option 2: Self-Leveling Compound
Best for: Multiple small dips and low spots across the floor
Self-leveling compound is a cement-based product that flows across the floor and settles into a level surface. It’s applied over the entire floor or in specific low areas.
Application Process:
Pros: Creates a perfectly level surface, fills multiple areas at once, relatively affordable Cons: Adds weight to the floor, requires careful prep work, permanent (can’t be easily removed), can crack if hardwood moves over time
Important Note: Some flooring professionals advise against using self-leveling compound over wood subfloors in residential applications because wood naturally expands, contracts, and flexes with seasonal changes. This movement can cause the rigid cement compound to crack over time. For this reason, many prefer the plywood overlay method described next.
Option 3: Plywood Overlay
Best for: Significantly uneven floors, floors with multiple issues, or when you want a completely fresh surface
Installing a layer of plywood over your existing hardwood creates a new, level subfloor. This is the most foolproof method but also the most expensive and labor-intensive.
Recommended Process:
Pros: Creates perfectly level surface, adds structural strength, covers all existing problems, provides stable base Cons: Most expensive option, raises floor height (affects door clearances and transitions), time-consuming, adds weight to floor structure
Option 4: Strategic Shimming with Peel-and-Stick Tiles
Best for: Small, isolated dips when you want to avoid the expense of full plywood coverage
This creative solution involves using vinyl peel-and-stick floor tiles (available at any home improvement store) cut to size and stacked as needed to fill low spots. Each tile is typically 1/16 inch thick, so you can customize the fill height.
How It Works:
Pros: Very inexpensive, works for multiple small issues, easy to customize, no special tools needed Cons: Time-consuming for many spots, not suitable for large areas, can be difficult to get perfectly level, may not last as long as other methods
Once your floor is level, the next critical component is underlayment—the thin layer that goes between your existing hardwood and your new laminate flooring. Never skip this step.
What Underlayment Does:
Moisture Protection Underlayment provides a moisture barrier that protects your laminate from any moisture that might come through the hardwood below. Even in perfectly dry conditions, wood naturally contains some moisture that can affect laminate over time.
Sound Dampening Without underlayment, every footstep on laminate creates a hollow, loud sound. Quality underlayment dramatically reduces noise, making your floor sound more solid and premium.
Smooths Minor Imperfections While underlayment cannot compensate for an unlevel floor, it does cushion over minor imperfections like a slightly protruding screw head or small surface irregularities you couldn’t eliminate.
Cushioning and Comfort Underlayment adds a subtle cushioning effect that makes laminate more comfortable to walk on and slightly warmer underfoot.
Types of Underlayment:
Foam Underlayment The most common and affordable option. Usually 2-3mm thick, it provides basic moisture protection and sound dampening. Comes in rolls that you unroll across your floor before installing laminate.
Best for: Budget-conscious installations, rooms with normal use Typical cost: $0.20-$0.40 per square foot
Cork Underlayment A premium natural option offering superior sound dampening and thermal insulation. Usually 3-6mm thick. Cork is naturally antimicrobial and eco-friendly.
Best for: Bedrooms, upstairs installations where sound control matters, eco-conscious homeowners Typical cost: $0.50-$1.00 per square foot
Rubber Underlayment Provides excellent sound dampening and durability. Often used in commercial applications but suitable for high-traffic residential areas.
Best for: High-traffic areas, homes with heavy furniture, maximum sound reduction Typical cost: $0.60-$1.20 per square foot
Combination Underlayment Features multiple layers (often foam with moisture barrier and sound dampening additives) for comprehensive protection. Some include antimicrobial treatments.
Best for: Areas where multiple concerns exist (sound, moisture, comfort) Typical cost: $0.40-$0.80 per square foot
Pre-Attached Underlayment Some laminate flooring comes with underlayment already attached to the bottom of each plank. If your laminate has this feature, you don’t need separate underlayment—though some installers still add a thin moisture barrier in humid climates.
Installation Tips for Underlayment:
One of the most common reasons laminate floors fail over hardwood—or any subfloor—is inadequate expansion gaps around the perimeter. This is especially critical when installing over hardwood because you’re adding a layer that will expand and contract independently of the hardwood below.
Why Expansion Gaps Matter:
Laminate flooring expands and contracts with temperature and humidity changes. In Cambridge, where we experience significant seasonal variation, this expansion can be substantial—up to ¼ inch across a 20-foot room. If the laminate is installed tight against walls with no room to expand, it has nowhere to go. The result is:
How Much Gap Do You Need?
Most manufacturers specify a ½-inch expansion gap around the entire perimeter of the installation, including around any fixed objects like pipes, door frames, and cabinets. Check your specific product requirements—some need more, especially in wider rooms.
How to Maintain Gaps During Installation:
Use spacers between the flooring and walls throughout installation. You can buy dedicated flooring spacers (inexpensive at any home center) or use scrap pieces of ½-inch material. Place spacers every 12 inches along the walls and leave them in place until the entire floor is installed.
Dealing With the Gap After Installation:
The expansion gap needs to remain open, but you obviously don’t want to see it. You have two approaches:
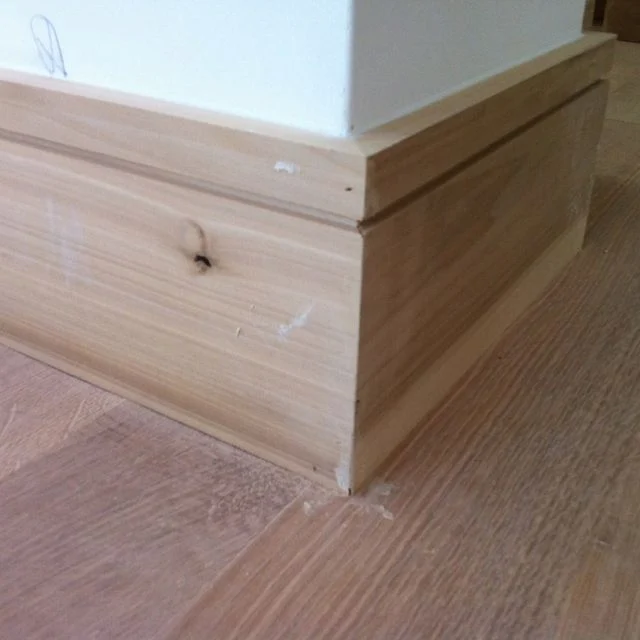
Method 1: Traditional Baseboard and Quarter Round
This is the most common and easiest method:
Pros: Easy, inexpensive, forgiving, allows you to see and maintain the expansion gap Cons: Some people find the additional molding layer visually busy or outdated
Method 2: Undercut Drywall Method
This creates a cleaner look but requires more work:
Pros: Cleaner, more modern look with one trim layer instead of two, laminate can expand beneath drywall Cons: More work, requires specialized tool, permanent modification to drywall, less forgiving if you make mistakes
Critical Reminder: Never glue, nail, or screw through laminate flooring into the subfloor below. This defeats the purpose of a floating floor and prevents the expansion/contraction the floor needs.
With your floor level, underlayment selected, and expansion gap strategy planned, you’re ready for installation. Here’s the process:
Preparation Phase:
Installation Phase:
Finishing Phase:
Even with thorough preparation, certain mistakes can ruin an otherwise good installation:
Never Hit Planks Directly Always use a tapping block and rubber mallet. Hitting laminate directly with a hammer or mallet damages the locking mechanism and the plank surface. If you must tap to close gaps, protect the plank with a scrap piece of laminate or a dedicated tapping block.
Don’t Skip Acclimation Installing laminate immediately after bringing it home may save time, but the expansion/contraction as it adjusts to room conditions can cause gaps or buckling within days.
Avoid Installing Against Fixed Objects Kitchen cabinets, fireplace surrounds, and built-ins are fixed to the floor or walls. Laminate must be able to move freely beneath any fixed object. Leave your ½-inch expansion gap and use trim to cover it. If you install tight against cabinets, seasonal expansion will cause buckling.
Don’t Assume Walls Are Straight Always measure from the wall at multiple points rather than assuming it’s straight. A wavy wall can throw off your entire installation if you use it as a guide. Use a chalk line to establish a truly straight starting line.
Never Attach Laminate to the Subfloor This seems obvious, but some DIYers get concerned about floor movement and try to secure it. Don’t. Nails, screws, or adhesive defeat the floating floor design and will cause damage.
Don’t Forget the Moisture in Your Climate Cambridge experiences humid summers. If you’re installing during dry winter months, be especially careful about expansion gaps. Your floor will expand significantly come summer.
Your laminate floor will last 15-25 years with proper care. Here’s how to maintain it:
Daily and Weekly Care:
Monthly Care:
Long-Term Protection:
Addressing Issues:
If problems develop, address them quickly:
While installing laminate over hardwood is an achievable DIY project, some situations warrant professional help:
Complex Room Layouts Multiple angles, curved walls, extensive built-ins, or unusual architectural features can challenge even experienced DIYers.
Large Square Footage While a bedroom is manageable for first-timers, attempting an entire home’s worth of flooring in your first installation may lead to inconsistencies or mistakes.
Severe Levelness Issues If your hardwood floor needs extensive leveling work—especially if structural repairs are required—consult a professional to ensure the job is done correctly.
Time Constraints If you need the job completed quickly and can’t dedicate several weekends to the project, professional installation ensures timely completion.
Physical Limitations Laminate installation involves extended periods of kneeling, lifting boxes of flooring, and repetitive motions that may not be suitable for everyone.
Understanding the financial implications helps you make an informed decision:
DIY Installation Costs (500 sq ft room):
Professional Installation Costs (500 sq ft room):
DIY Savings: $1,000-$2,000+
These savings make DIY installation attractive, especially if you already own basic tools. The experience gained is valuable for future projects as well.
Installing laminate flooring over hardwood is a rewarding project that updates your space while building valuable home improvement skills. The keys to success are:
Whether you’re covering worn hardwood in a Cambridge heritage home or updating the look of a more modern space, proper installation over existing hardwood creates a beautiful, durable floor that will serve your household for decades.
Ready to start your laminate installation project? Club Ceramic Cambridge carries a comprehensive selection of laminate flooring options, underlayment products, installation tools, and all the accessories you need for a successful installation. Our knowledgeable team can help you:
We’re proud to serve Cambridge homeowners with quality products, expert guidance, and support throughout your flooring project. Stop by our showroom to see our extensive laminate selection and let us help you create the floor of your dreams—right over your existing hardwood.