Welcome to Club Ceramic Cambridge — your trusted partner for complete premium flooring options in Cambridge, Kitchener, Waterloo, Guelph, and surrounding areas.
There’s a moment that happens in almost every home renovation—usually late at night, weeks or months after the project is “complete”—when you realize you made a mistake. Maybe it’s when you’re scrubbing grout lines for the third time this week. Maybe it’s when water spills in your kitchen and you watch your beautiful hardwood buckle. Maybe it’s simply walking through your newly renovated space and thinking, “I wish we’d done this differently.”
At Club Ceramic Cambridge, we’ve worked with hundreds of homeowners through their flooring renovations. We’ve celebrated the triumphs and, honestly, we’ve also witnessed the regrets. The good news? Most flooring mistakes are completely avoidable when you know what to look out for. The even better news? You’re reading this before making those mistakes, not after.
This guide shares the ten most common flooring renovation regrets we hear from homeowners, along with practical solutions to help you avoid them. These aren’t theoretical problems—they’re real frustrations from real people who’ve lived with the consequences of their flooring decisions. Learn from their experiences, and you’ll save yourself time, money, and a lot of unnecessary stress.
Working on a new home project? Call now for a free estimate: (647) 394-6030
This is, hands down, the most frequently cited flooring regret we encounter. Homeowners choose crisp white grout because it looks clean and classic in the showroom or on the sample board. Then they install their beautiful tile floor with white grout, and within weeks—sometimes days—they’re filled with regret.
Why This Happens
White grout looks stunning on a freshly installed floor. It creates definition between tiles, showcases the tile pattern, and feels bright and clean. In design magazines and showroom displays, white grout appears flawless. The problem is that showrooms don’t have three kids, two dogs, a daily coffee habit, and hard water running through the pipes.
The Reality of White Grout
White grout discolors. Not might discolor, not sometimes discolors—it will discolor. Foot traffic, spills, mineral deposits from water, soap residue, and simple dust accumulation all conspire to turn your pristine white grout a dingy yellow-gray within months.
Even in homes with fastidious cleaners, white grout requires constant maintenance. You’ll find yourself on your hands and knees with a grout brush and bleach, scrubbing individual grout lines to restore their original brightness. This isn’t a once-in-a-while chore—it’s an ongoing battle you’ll eventually lose.
The problem intensifies if you have hard water. Mineral deposits leave rust-colored or brown staining on white grout that’s incredibly difficult to remove. In bathrooms, soap scum and shampoo residue create a buildup that turns white grout gray. In kitchens, cooking oils and food particles work their way into the porous grout surface.
The Solution: Choose Forgiving Grout Colors
The fix is remarkably simple: choose a grout color that hides dirt instead of showcasing it.
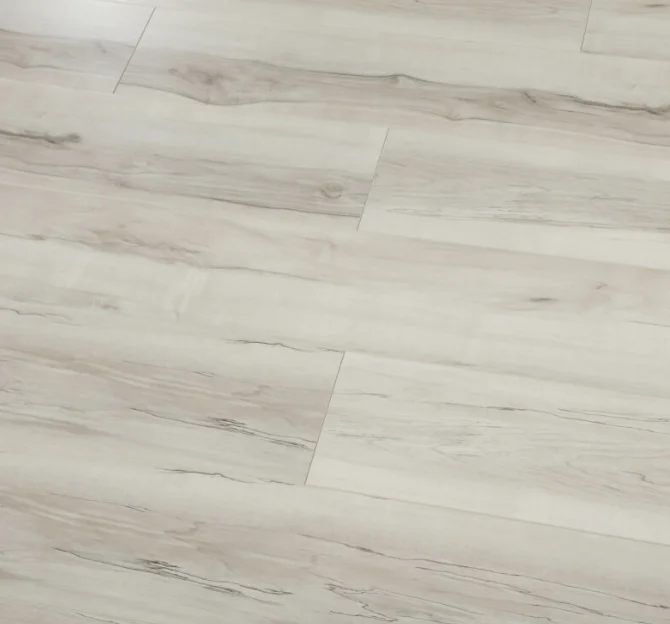
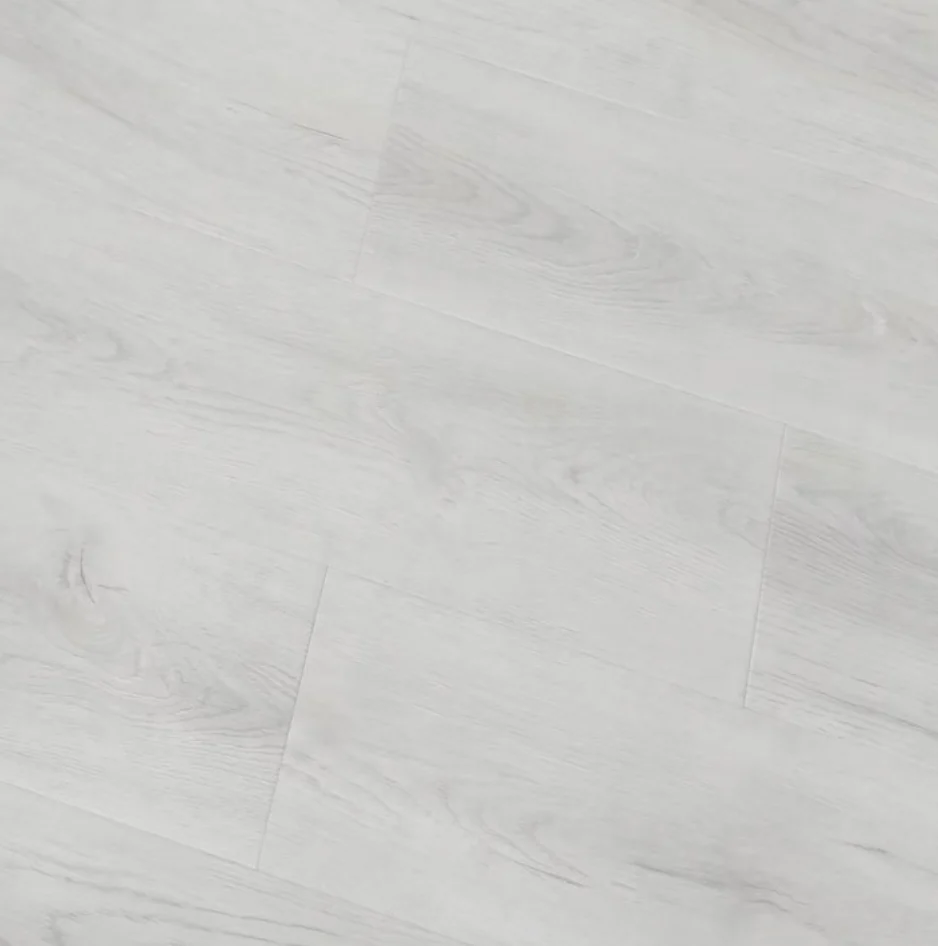
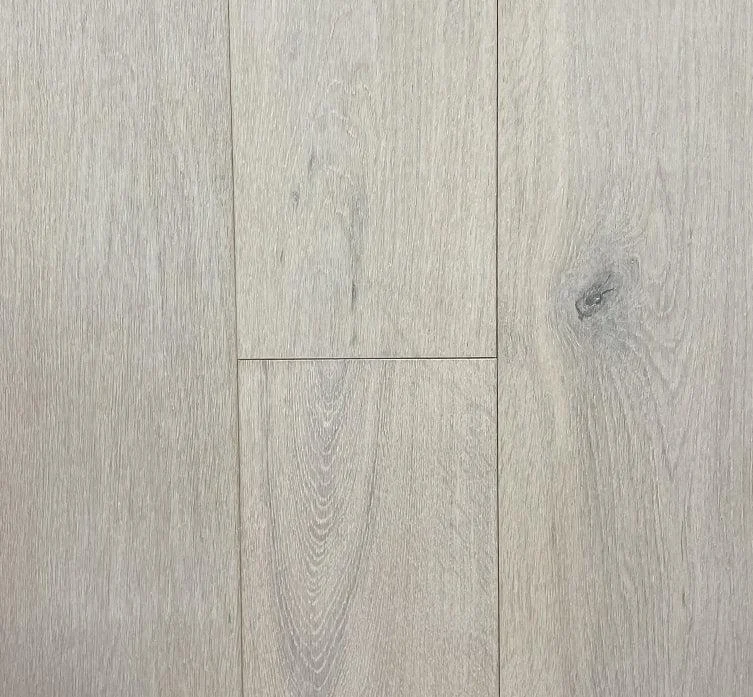
Light gray grout is the go-to choice for most tile installations. It provides subtle definition between tiles without creating harsh contrast, and it hides normal wear and dirt beautifully. Light gray works with white tile, beige tile, gray tile, and even many colored tiles.
Medium gray grout offers even more forgiveness. It’s particularly effective with gray or charcoal tiles, but it also works surprisingly well with beige and warm-toned tiles, creating a modern look while remaining practical.
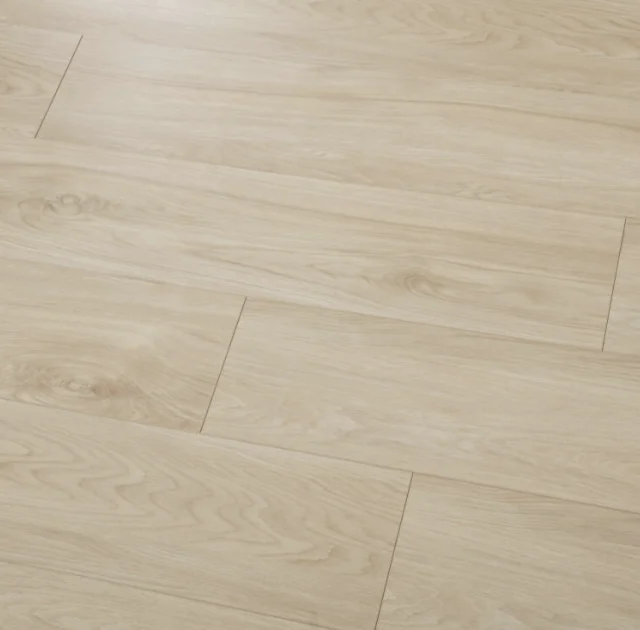
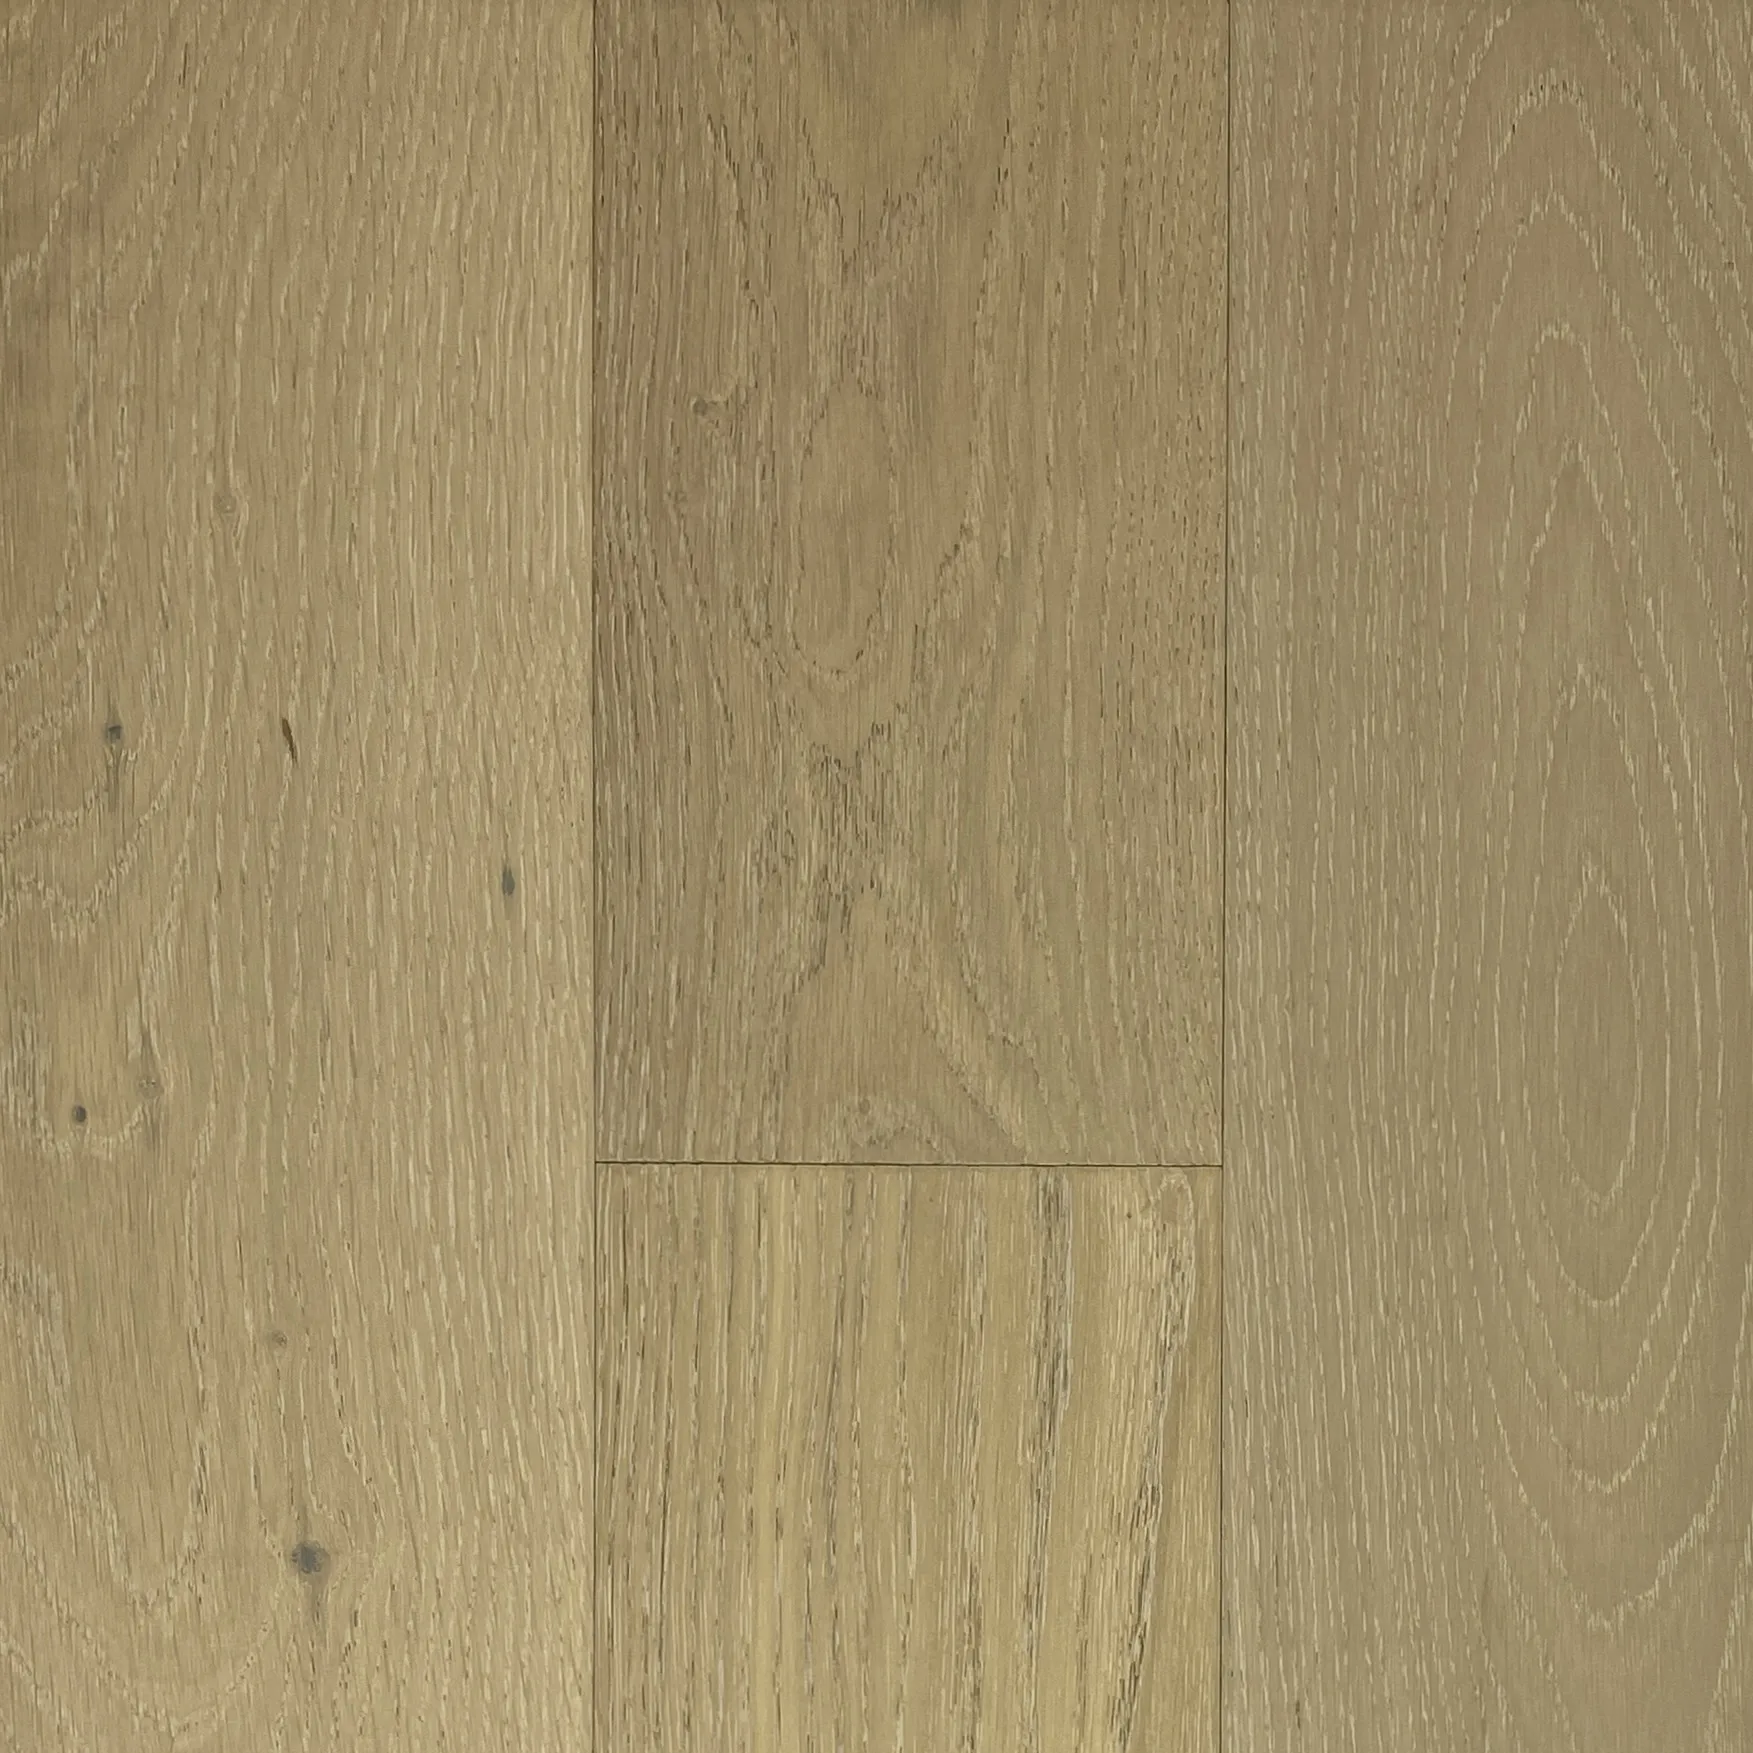
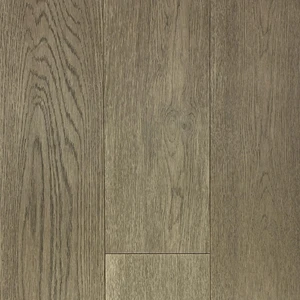
Warm beige or greige (gray-beige) grout is ideal for warm-toned tiles—anything in the beige, tan, cream, or earth-tone family. These grout colors provide definition without the starkness of white, and they age gracefully.
Darker grout (charcoal or even black) creates bold definition and is supremely practical for high-traffic areas. This choice works best when you want the grout lines to be a design feature rather than disappearing into the background.
Practical Grout Selection Guidelines
Choose grout that’s slightly darker than your tile for the most forgiving appearance. If your tile is light beige, use medium beige or light gray grout. If your tile is medium gray, use darker gray grout.
For high-traffic areas—entryways, mudrooms, kitchens—consider epoxy grout. While more expensive and slightly more challenging to install, epoxy grout is less porous than cement-based grout, making it more stain-resistant and easier to maintain long-term.
If you’re absolutely committed to a light grout because it’s essential to your design vision, at least seal it properly and plan for regular maintenance. Know going in that you’re choosing aesthetics over practicality, and be prepared for the upkeep that choice requires.
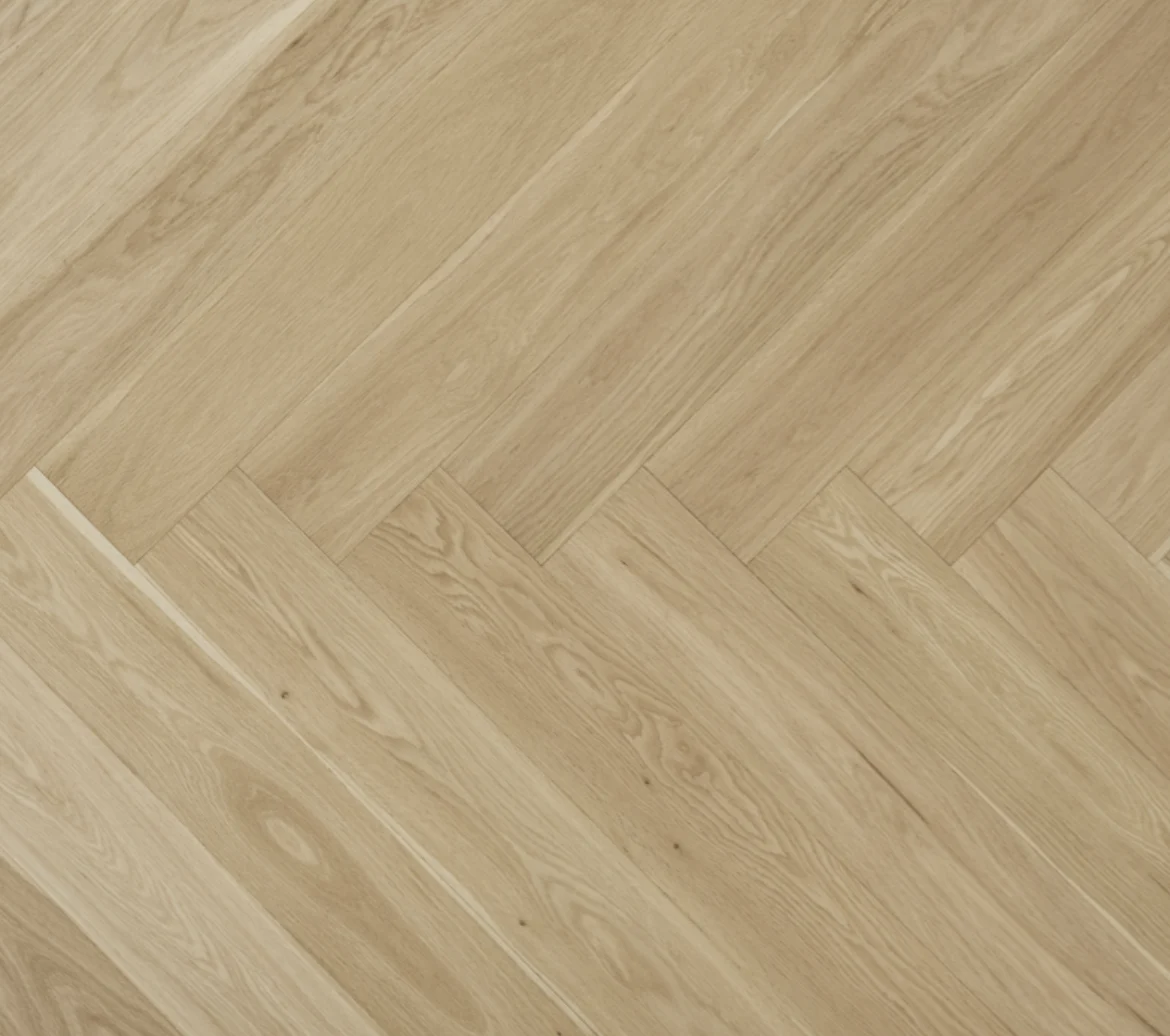
The dream of continuous hardwood flowing throughout your main floor is compelling. There’s an undeniable elegance to entering your home and seeing the same beautiful wood stretching from the entryway through the living room and into the kitchen. Unfortunately, this design choice often becomes a source of lasting regret.
Why Homeowners Choose Hardwood in Kitchens
The desire for visual continuity drives this decision. When you’re renovating or building, the thought of breaking up your open-concept main floor with different flooring materials feels wrong. Hardwood also carries prestige—it’s seen as the premium flooring choice, so why wouldn’t you use it everywhere?
The Problem with Kitchen Hardwood
Kitchens are hostile environments for hardwood flooring. Unlike dining rooms or living rooms where floors stay relatively protected, kitchen floors face constant challenges:
Water exposure is the primary killer of kitchen hardwood. A dropped glass of water, a leaking dishwasher, an overflowing sink, drips from wet hands at the sink, melting ice from the refrigerator dispenser—kitchens experience frequent water contact. Hardwood and water don’t coexist peacefully. Even with proper sealing, repeated water exposure causes swelling, warping, cupping, and discoloration.
The damage often isn’t immediately apparent, which creates a false sense of security. You clean up the spill, the floor looks fine, and you move on. But moisture has penetrated the finish and begun affecting the wood. Over time, these small moisture events accumulate into visible damage—boards that cup at the edges, gaps that open between planks, or sections that buckle and lift.
Dropped items present another challenge. Drop a pot or pan on hardwood and you’ll likely leave a dent or gouge. Coffee mugs, utensils, and canned goods all take their toll. While scratches and dents add “character” to hardwood in living spaces, damage in the kitchen work triangle just looks worn and beaten.
Spills and stains are inevitable in kitchens. Cooking oil splashes, wine spills, tomato sauce drops—these penetrate hardwood finishes and leave permanent stains. Even when you clean immediately, many food substances etch or discolor hardwood.
The Solution: Choose Kitchen-Appropriate Flooring
Better options exist that maintain beauty while standing up to kitchen demands.
Porcelain Tile
Porcelain tile is nearly indestructible in kitchen applications. It’s completely waterproof, impervious to stains, resistant to scratches, and available in stunning designs including realistic wood-look options.
Modern wood-look porcelain tile has evolved to the point where it’s difficult to distinguish from real wood at a glance. The tiles replicate wood grain, color variation, and texture. You get the warm, natural appearance of hardwood with the durability of ceramic.
Large-format tiles (planks that are 6-9 inches wide and 36-48 inches long) minimize grout lines, creating a cleaner, more contemporary look. Installation in a random pattern rather than straight lines further enhances the natural wood appearance.
Luxury Vinyl Plank (LVP)
Premium LVP with waterproof rigid core construction offers another excellent solution. Modern LVP looks remarkably realistic, with high-definition printing that captures authentic wood grain and color variation.
The waterproof core means standing water won’t damage the flooring—a critical feature in kitchens. Spills sit on the surface until you clean them up without penetrating or causing harm. LVP is also softer underfoot than tile, which many people appreciate in a room where they stand for extended periods cooking and cleaning.
Quality matters significantly with LVP. Premium products with thick wear layers (20-mil or greater) and substantial warranties will perform beautifully for decades. Budget LVP scratches easily and may show wear in high-traffic kitchen areas within a few years.
Natural Stone or Stone-Look Tile
Slate, limestone, or travertine tiles bring organic beauty and impressive durability to kitchens. These materials handle the kitchen environment well, though they require periodic sealing to maintain stain resistance.
Stone-look porcelain provides the appearance of natural stone with even better performance characteristics—no sealing required, superior stain resistance, and typically more budget-friendly.
Creating Continuity Without Matching Materials
If visual continuity is important, you can achieve it without using the same flooring throughout. Choose kitchen flooring in a color and tone that complements your hardwood in adjacent spaces. A warm-toned wood-look tile or LVP that echoes your actual hardwood creates flow without the vulnerability of putting real wood where it doesn’t belong.
Use intentional transitions at doorways or where the kitchen ends and living space begins. A thoughtful transition signals the change in function and actually enhances both spaces rather than creating a jarring disconnect.


This regret haunts homeowners every winter. You’re getting out of the shower on a cold morning, stepping onto frigid tile, and thinking, “We should have installed heated floors when we had the chance.” Or you’re standing in your kitchen making breakfast, feet cold against the tile, remembering when the subfloor was exposed and heated floor installation would have been straightforward.
Why This Opportunity Gets Missed
Heated floors feel like a luxury rather than a necessity, making them easy to cut when renovation budgets tighten. The cost—typically $500 to $2,000 depending on the area—seems significant during the planning phase when you’re making dozens of spending decisions.
Information gaps also contribute. Many homeowners simply don’t know heated floors are an option, or they assume the cost is prohibitive. By the time they learn about radiant floor heating and consider it seriously, they’ve already installed their finished flooring.
Why This Regret Runs Deep
The frustration with this particular mistake is that it’s essentially irreversible without major work. Once your tile, stone, or other flooring is installed, adding heated floors requires removing that flooring, installing the heating system, and reinstalling new flooring. You’re essentially paying for your floor twice, plus the cost of the heating system and labor.
Every cold morning reinforces the regret. It’s not a mistake you can overlook or forget—you feel it literally, repeatedly, throughout the colder months.
The Benefits of Radiant Floor Heating
Heated floors transform tile bathrooms from cold and unwelcoming to spa-like and comfortable. They make kitchen standing time during meal preparation more pleasant. In basements, they turn cold, cave-like spaces into comfortable living areas.
Radiant floor heating is also remarkably energy-efficient. Unlike forced-air systems that heat the entire room including all the air at ceiling level, radiant heat warms from the floor up, heating the zone where people actually exist. Many homeowners find they can lower their whole-house thermostat when they have heated floors in key areas, because the comfort of warm floors makes slightly cooler air temperatures feel comfortable.
The systems are durable and require essentially zero maintenance once installed. They’re silent, unlike forced-air systems that cycle on and off with noticeable noise. And they add genuine value to your home—buyers appreciate heated bathroom floors and will pay more for homes that have them.
Installation Realities
Radiant floor heating must be installed before your finished flooring. The thin electric heating mats go down after the subfloor is prepared and before tile installation. This makes renovation the ideal time—the opportunity window is wide open, costs are minimized, and installation is straightforward.
The cost during renovation typically breaks down as follows:
These costs include both the heating system itself and the installation labor. The electrical work to connect the system and install a programmable thermostat adds another $200-$400.
Compare this to retrofit costs after flooring is already installed, which require removing existing floors ($2-$8 per square foot), installing the heating system, purchasing new flooring materials, and reinstalling everything. A retrofit can easily cost 3-5 times what it would have cost during initial renovation.
Where to Install Heated Floors
Bathrooms are the top priority, especially for tile floors. Morning showers become more pleasant when you step onto warm tile instead of cold stone.
Kitchen tile floors benefit from radiant heat, particularly in front of the sink and cooking areas where you stand for extended periods.
Mudrooms and entryways with tile or stone flooring gain comfort and practical benefits—the heat helps dry wet shoes and boots faster.
Basement spaces where you’re installing tile or stone greatly benefit from radiant heat. Basements tend to be cooler, and concrete subfloors are particularly cold. Radiant heating makes basement living spaces genuinely comfortable.
The Decision
If you’re renovating and installing any tile or stone flooring, seriously consider radiant floor heating. Get quotes during the planning phase. Compare the cost to other renovation elements—you might find that the heated bathroom floor costs less than the mirror you were planning to install, or that heated kitchen floors cost about the same as upgrading your cabinet hardware.
Think of it as an investment in daily comfort for as long as you own your home. That’s thousands of mornings stepping onto warm floors instead of cold tile. When viewed through that lens, the cost becomes quite reasonable.
You’ve spent hours browsing tile options online and at showrooms. You’ve narrowed your choices to a few favorites. You order samples, they arrive, you look at the 4-inch square samples on your counter, make your decision, place your order, and wait excitedly for installation day. Then the installers finish, you step back to admire your new floor, and your heart sinks. The tile that looked perfect as a small sample looks completely different installed across your entire floor.
Why Small Samples Mislead
A 4-inch tile sample cannot accurately represent how that tile will look installed across 200 square feet of floor space. Pattern, color variation, and visual impact change dramatically at scale.
Pattern repetition becomes apparent only when viewing multiple tiles together. What looks like subtle variation on a single tile might read as a busy, distracting pattern when repeated across an entire room. Conversely, a tile that seems to have nice visual interest as a single sample might look flat and monotonous when installed.
Color appears different at scale. A warm beige tile that looks neutral and calming as a sample might feel overwhelmingly orange when covering your entire kitchen floor. A gray that seems sophisticated on a small chip might read as cold and institutional when it’s everywhere you look.
Lighting transforms appearance. Showrooms use high-powered lighting that makes every tile look its best. Your home has different lighting—natural light from specific directions, existing fixtures with particular color temperatures, and shadows cast by cabinets and furniture. A tile that sparkles beautifully under showroom halogen lights might look dull and lifeless in your north-facing bathroom.
Grout lines change everything. When you’re looking at a single tile sample, you’re not seeing grout lines. Grout lines create a grid pattern across your floor that significantly impacts the overall appearance. Wide grout lines make the grid more prominent; narrow grout lines let the tile be the focal point. Grout color either blends to make tiles feel continuous or contrasts to emphasize the grid pattern.
The Costly Consequences
Discovering you don’t like your tile after installation is financially and emotionally devastating. You’ve spent thousands of dollars on materials and labor. Changing course means paying to remove the newly installed tile, purchasing new tile, and paying for installation again. Many homeowners simply live with tile they don’t love because the cost of replacement is prohibitive.
The regret lingers. Every time you enter the room, you see the tile you wish you’d chosen differently. It affects your enjoyment of a space you invested heavily in improving.
The Solution: See Tiles at Scale in Your Actual Space
Always bring multiple sample tiles home—not just one, but at least 6-12 tiles so you can lay them out and see pattern, repetition, and how grout lines will look.
Lay the tiles out on your floor in the actual space where they’ll be installed. Step back and view them from doorways and different angles. This gives you a much more accurate sense of how the tile will look installed.
View samples at different times of day. Tile that looks beautiful in morning sunlight might look completely different under evening artificial light. Leave samples in place for several days so you can observe them under various lighting conditions.
Bring samples into adjacent rooms to see how they relate to other finishes in your home. Your new kitchen floor will be viewed from your living room; does the tile work from that sight line? Your bathroom floor will be visible from the hallway; does it coordinate with hallway flooring?
Photograph the samples in place. Sometimes a photograph reveals aspects of appearance your eye overlooks in person. It also lets you share images with family members or friends for input.
Selecting Grout Color
While you have tiles laid out, place different grout color samples between tiles to see the impact. Get small grout color sample cards and slip them between your tile samples. The difference between light gray grout and dark gray grout can completely change how your floor looks.
When Samples Aren’t Available
If you’re considering a tile available only online or from a distant supplier, see if you can order full-size tiles rather than small samples. Yes, you’ll pay for several tiles that you won’t ultimately use, but that cost is negligible compared to ordering an entire floor of tile you end up disliking.
Some tile manufacturers and retailers offer visualization tools that show their tiles in room settings. While these are helpful, they’re still not a substitute for seeing actual tiles in your actual lighting.
Trust Your Gut
If you lay out samples and feel any hesitation, listen to that feeling. Don’t talk yourself into a tile you’re uncertain about. The right tile will feel clearly right when you see it at scale in your space. If you’re not excited about it on the floor as samples, you won’t be happy with it installed.
The budget-conscious voice in your head says that all tile is basically the same, so why pay premium prices? Or that luxury vinyl is luxury vinyl regardless of manufacturer. You opt for the lower-priced option, congratulating yourself on your smart shopping. Then, within a few years, your “smart” purchase reveals itself as a costly mistake.
Why Homeowners Choose Budget Materials
Renovation budgets are tight. You’re making dozens of spending decisions, and saving a few dollars per square foot on flooring can add up to hundreds or thousands of dollars saved. That money could go toward better countertops, upgraded fixtures, or new furniture. The temptation to economize on hidden or less visible elements like flooring is strong.
Additionally, cheap and expensive flooring often look similar before installation. A budget ceramic tile might look nearly identical to a premium porcelain tile when you’re comparing samples. Budget LVP can mimic the appearance of premium products. When visual differences are subtle, the lower price seems like the obviously smart choice.
The Reality of Cheap Materials
Budget flooring products fail in ways you don’t discover until you’ve lived with them.
Cheap ceramic tile chips and cracks easily. Drop a heavy pot in your kitchen and a cheap tile cracks straight through. The low-density ceramic doesn’t have the strength to withstand impacts that premium porcelain would handle without damage.
Budget LVP scratches and dents. Thin wear layers (6-12 mil) show scratch marks within months in high-traffic areas. Chair legs dent the surface. The photographic layer that creates the wood-look appearance becomes visible through the damaged wear layer, creating white marks that can’t be buffed out.
Inexpensive products have poor warranties. Budget materials typically come with minimal warranties—maybe 5 years residential, often with extensive exclusions. When problems develop, you’re on your own. Premium products often carry 20-year, 25-year, or even lifetime residential warranties that indicate the manufacturer’s confidence in their product’s durability.
Color and finish fade or wear unevenly. Some budget tiles have surface glazes that wear through in high-traffic areas, revealing the different-colored base material underneath. Inexpensive LVP can fade when exposed to sunlight, creating discolored patches near windows.
Installation problems surface. Some budget products are difficult to install properly due to inconsistent sizing, warping, or poor locking mechanisms (in the case of LVP). This leads to installation issues that become apparent after the installer leaves—planks that don’t stay locked together, tiles with lippage where edges don’t align, or floors that feel unstable underfoot.
The True Cost
The real expense of cheap materials becomes apparent when you’re forced to replace your flooring after just 5-7 years. You pay for removal of the failed flooring, purchase new materials, and pay installation costs again. That budget flooring that saved you $2,000 up front now costs you $8,000 in total—the original installation plus the replacement.
Even if the flooring doesn’t fail catastrophically, living with scratched, stained, or worn flooring diminishes your enjoyment of your home. Every time you notice the damage, you’re reminded of the money-saving decision that turned out to be expensive.
The Solution: Understand Value vs. Cost
The cheapest option is rarely the best value. The best value is the product that delivers satisfactory performance for the longest time at a reasonable price.
For Tile: Choose Porcelain Over Ceramic
Porcelain tile costs more than ceramic, but the durability difference is substantial. Porcelain is fired at higher temperatures, creating a denser, harder, more water-resistant product. It resists chipping, cracking, and staining better than ceramic. For high-traffic areas or moisture-prone spaces, porcelain is worth the premium.
For LVP: Focus on Wear Layer Thickness
The wear layer is the clear protective coating over the decorative layer. Thicker wear layers last longer. Look for products with 20-mil wear layers or greater. Yes, these products cost more, but they’ll look good for 15-20 years instead of showing wear in 5.
Pay Attention to Warranties
A manufacturer willing to warranty their product for 20+ years is telling you something about their confidence in that product’s durability. Short warranties or warranties loaded with exclusions signal that the manufacturer doesn’t expect their product to hold up well.
Consider the Cost Per Year
Instead of thinking about total cost, calculate annual cost. A $4,000 premium floor that lasts 20 years costs $200 per year. A $2,000 budget floor that needs replacing after 7 years costs $285 per year—plus you face another replacement and disruption. The premium floor is actually the economical choice.
Where to Invest vs. Save
Not every space requires premium materials. Spare bedrooms with light traffic can use mid-range products successfully. But kitchens, entryways, bathrooms, and main living spaces deserve quality materials that will stand up to daily use.
Installation Quality Matters Too
Even premium materials fail if poorly installed. Factor professional installation into your budget, or if you’re doing it yourself, take the time to do it correctly. Poor installation can ruin even the best materials.
The DIY television shows make it look straightforward. You watch a contractor lay floor tile in a thirty-minute segment and think, “I can do that.” You calculate the money you’ll save on labor—maybe $3,000 or more—and commit to the DIY path. Then reality sets in. The job is far harder than it appeared on screen, you lack the right tools, mistakes accumulate, and what should have taken a weekend stretches into months of frustration.
Why DIY Seems Appealing
Professional installation costs represent a significant portion of your flooring budget—often 30-50% of the total. When you’re watching every dollar, eliminating that labor cost is tempting. The savings could fund upgrades in materials or other aspects of your renovation.
The proliferation of DIY content online creates confidence that may not be warranted. YouTube tutorials show every step of the process. Home improvement stores offer tool rentals. The path to DIY success seems clear and achievable.
Where DIY Goes Wrong
The gap between watching someone skilled perform a task and successfully doing it yourself is vast. Professional installers have years of experience, specialized tools, and efficiency born of repetition. They know how to solve problems when they arise, how to work around obstacles, and how to achieve professional results.
Tile Installation Challenges
Tile installation demands precision. The subfloor must be perfectly flat—deviations of more than 1/8 inch over 10 feet create problems. Thinset must be mixed to exact consistency and applied at the correct thickness. Tiles must be set level with each other to avoid “lippage” where tile edges don’t align. Cuts around obstacles must be exact. Grout lines should be consistent throughout.
Without experience, achieving these standards is difficult. Small mistakes compound. Tiles that aren’t quite level become more noticeable once grout is applied. Grout lines that vary in width look sloppy and unprofessional. Tiles bonded with insufficient thinset eventually sound hollow when walked on or crack under stress.
Large-format tiles present particular challenges. Getting a 12×24-inch or larger tile perfectly level in plane with its neighbors requires skill and the right tools. Without both, you’ll create a floor with lippage that catches your eye and feels uneven underfoot.
The Timeline Problem
Professionals complete jobs quickly because they work efficiently with the right tools and know exactly what to do next. DIYers work slowly, figuring things out as they go. A bathroom floor that would take a professional one day might take a DIYer an entire weekend—or multiple weekends if they’re working around a full-time job.
Extended timelines create their own problems. You’re living without a functional kitchen or bathroom for weeks instead of days. Family frustration builds. Motivation wanes. Some DIY projects never reach completion, with homeowners eventually bringing in professionals to finish (or fix) what they started.
The Cost of Failure
When a DIY installation goes badly wrong, you face removal costs, material waste, and professional installation costs anyway. The money you hoped to save evaporates, and you may spend more than professional installation would have cost initially.
Even partially successful DIY installations can haunt you. Tile with inconsistent grout lines, corners that don’t quite meet, or areas with visible lippage will bother you every time you see them. You’ve saved money but created something you don’t fully enjoy.
When DIY Makes Sense
Some flooring tasks are well-suited to capable DIYers:
Removal of old flooring is labor-intensive but not technically demanding. Tearing up old carpet, vinyl, or laminate flooring is work anyone can do with basic tools. This is an excellent place to save labor costs.
Installing laminate or floating luxury vinyl plank falls within DIY capability for many homeowners. These floors don’t require adhesive or precision leveling of individual pieces. If you can use a saw, follow instructions, and work methodically, you can successfully install floating floors.
Simple tile projects in small spaces with straightforward layouts—like a small bathroom with minimal cuts—can be DIY-able if you research thoroughly, work carefully, and accept that the result will be “good” rather than “perfect.”
When to Hire Professionals
Tile installation in large spaces, with complex patterns, or using large-format tiles warrants professional installation. The skill required to achieve professional results is substantial.
Waterproofing systems in showers and wet areas must be installed correctly to prevent water damage. This is not the place to experiment or learn through trial and error. Water damage from failed waterproofing can cost tens of thousands to remediate.
Heated floor systems require electrical knowledge and precise installation. Damaging heating elements during installation means purchasing a new system.
Any project with a tight timeline benefits from professional installation. If you need your kitchen or bathroom functional again within days, hire pros who can complete the work quickly.
The Hybrid Approach
Consider doing the demolition work yourself and hiring professionals for installation. You save money on the labor-intensive but straightforward removal work while ensuring the skilled installation work is done correctly.
Get quotes before assuming you can’t afford professional installation. Some projects cost less than you might expect, especially if you’re supplying the materials. The peace of mind and quality results may be worth the investment.
This is the regret homeowners mention most frequently and most emphatically. They renovated their floors after moving into their home, and they universally wish they’d done it beforehand. Once you’ve lived through a flooring renovation, the wisdom of doing it before move-in becomes painfully clear.
Why Homeowners Delay Floor Renovation
The reasons for postponing flooring work seem sound at the time. You’ve just purchased a home and depleted your savings for the down payment and closing costs. The existing floors are functional even if not ideal. You want to live in the space for a while to understand it before making permanent decisions. These are rational thoughts.
Or perhaps the existing floors look acceptable initially, and you plan to upgrade “eventually.” Eventually becomes next year, then the year after that, and suddenly you’ve lived with floors you don’t love for five years.
The Reality of Living Through Floor Renovation
Installing new flooring while living in your home is one of the most disruptive renovations possible. It’s not just inconvenient—it’s genuinely difficult.
Furniture must be moved—usually multiple times. You clear rooms completely before work begins, but installation often happens room by room, requiring furniture to shift around your home in a complicated dance. Heavy furniture gets scratched, bumped, and damaged in the process.
Dust is everywhere. Removing old flooring creates tremendous dust that permeates your entire home despite precautions. It settles on furniture, works into fabrics, and requires extensive cleaning after the work is complete.
Your home is non-functional during installation. Kitchen renovations mean eating out or preparing food in makeshift spaces. Bathroom renovations may leave you without access to facilities, requiring arrangements with neighbors or reliance on other bathrooms in your home. Living spaces become construction zones with limited access.
The timeline extends because you’re living in the space. Installers work around your schedule and life. The job that would take three days in an empty home might stretch to a week or more when working around residents.
Daily stress accumulates. Waking up to construction, dealing with strangers in your home for extended periods, managing pets and children around active work sites, living without normal routines—it wears on you in ways you don’t anticipate.
Why Before-Move-In Is Infinitely Better
Installing new flooring before you move in is a completely different experience. The house is empty, so there’s no furniture to move or protect. Work proceeds quickly without interruptions. Dust and mess don’t matter because you’re not living in it. Installers work efficiently from room to room without navigating around your belongings.
Most importantly, you get to enjoy your beautiful new floors from the very first day you live in your home. Instead of looking at floors you tolerate while planning an eventual upgrade, you walk in on move-in day and love what you see. Every day in your home becomes an opportunity to appreciate your flooring rather than lament what you’ll change someday.
The Financial Angle
Living through floor renovation often costs more than doing it before move-in. Installers charge premiums for working in occupied homes where they must protect belongings, work around occupants, and proceed more slowly. You may need to arrange pet boarding, temporary housing for portions of the work, or eating out for every meal—costs that add up quickly.
The Lost Enjoyment Factor
If you plan to replace your floors eventually, every day you live with the old floors is a day you’re not enjoying the new ones. If you live with carpet you dislike for three years before replacing it with hardwood, that’s three years of your life in that home spent wishing your floors were different. You can’t get that time back.
The Practical Path Forward
If you’re purchasing a home and the floors aren’t what you want, make flooring renovation a priority before moving in. Even if it means delaying your move-in date by a week or two, the temporary inconvenience is nothing compared to the extended disruption of renovating while living there.
If budget is the constraint, consider doing rooms strategically. Install new flooring in the most important spaces—primary bedroom, main living areas, kitchen—before moving in. Secondary spaces like spare bedrooms can wait if necessary. You’ll still reap the benefits of having your main living spaces complete from day one.
If you’re already living in your home and considering floor renovation, at least plan it strategically. Schedule the work during a time when you can temporarily relocate—maybe during a planned vacation, or arrange to stay with family for a week. The investment in temporary housing is worthwhile for the reduction in stress and disruption.
Learn From Others’ Regret
This is one mistake you hear about from virtually everyone who’s experienced it. They all say the same thing: “We should have done the floors before we moved in.” Listen to them. Their regret can be your wisdom.
Walking through your home should feel like a cohesive journey from space to space. Instead, in many homes, each room features different flooring—carpet here, vinyl there, tile in another space, perhaps hardwood somewhere else—with jarring transitions and clashing colors that fragment the space visually and create a disjointed feeling.
How This Happens
This mistake usually develops gradually rather than through a single decision. You replace worn carpet in the bedroom with new carpet. A few years later, you update the kitchen with tile. Eventually, you add laminate to the living room. Each decision made sense individually, but no one considered how these choices would work together.
Sometimes it results from room-by-room renovations done on a budget, with each space getting whatever flooring fits that year’s finances. The long-term visual impact doesn’t register until you step back and see the patchwork result.
In other cases, different family members make different decisions, or you change your mind about style preferences between renovations without considering existing flooring in other rooms.
The Problem with Flooring Chaos
Visual fragmentation makes homes feel smaller and more chaotic. Every flooring change creates a visual break that segments your home into disconnected pieces rather than a flowing whole.
Transitions proliferate. Each change in flooring requires a transition strip—those metal or wood pieces that bridge height differences or material changes. Too many transitions create a cluttered look and become tripping hazards, particularly for elderly residents or young children.
Color clashes occur when flooring selections don’t coordinate. Your cool gray luxury vinyl plank in the kitchen clashes with the warm oak hardwood in the adjacent living room. Your beige carpet in the bedrooms doesn’t relate to the dark brown tile in the bathrooms. Each flooring choice may look fine in isolation, but together they create visual discord.
Height differences accumulate when you layer new flooring over existing flooring in some rooms but not others. This creates steps between rooms—a half-inch rise here, a quarter-inch drop there—that are both visually awkward and physically problematic.
Resale challenges emerge because buyers notice inconsistent flooring immediately. It signals a home that’s been renovated piecemeal rather than thoughtfully, potentially raising questions about what other work was done without comprehensive planning.
The Solution: Develop a Whole-House Flooring Plan
Even if you can’t execute your flooring renovation all at once, planning it comprehensively from the start prevents these problems.
Map your entire home and decide what flooring goes where. Maybe all main floor living spaces get hardwood or luxury vinyl plank. Maybe bedrooms get carpet. Maybe bathrooms get tile. Having a clear plan ensures future flooring decisions support your overall vision.
Choose a primary flooring material for your main living areas and commit to it. This becomes your “foundation” material that sets the tone for other choices. Other flooring—carpet in bedrooms, tile in bathrooms—should coordinate with and complement this foundation choice.
Coordinate colors carefully. Your flooring choices don’t need to match, but they should relate to each other harmoniously. If your main floor is warm-toned hardwood, choose carpet in warm beige or neutral tones, and tile in colors that work with those warm tones. If you’re using cool gray luxury vinyl plank, coordinate other flooring in complementary cool tones.
Minimize transitions by using the same flooring across entire levels or connected spaces when possible. Open-concept main floors benefit enormously from continuous flooring throughout. The uninterrupted surface makes the space feel larger and more cohesive.
When you must transition between materials, use intentional thresholds at doorways or natural breaking points like where hallways meet rooms. These feel purposeful rather than random.
Phase Implementation Strategically
If budget requires phasing your flooring renovation over time, phase intelligently:
Phase 1: Main living areas (living room, dining room, kitchen)—the spaces you use most and visitors see.
Phase 2: Primary bedroom and bathroom—spaces that impact your daily comfort.
Phase 3: Secondary bedrooms and bathrooms—spaces used less frequently.
Order all your materials at once even if you’re installing in phases. This ensures color consistency and guarantees availability of your selected products. Many flooring products are discontinued or reformulated over time; ordering everything together prevents the disaster of being unable to match your flooring when you’re ready for phase two.
The Open-Concept Exception
If you have an open-concept main floor where kitchen, dining, and living spaces flow together visually, continuous flooring is almost mandatory. Breaking up an open floor plan with different flooring in each zone ruins the openness that makes the design work. Even if you transition to carpet for bedrooms or different tile for bathrooms, keep the main open space unified with single flooring throughout.
Document Your Plan
Write down your whole-house flooring plan with specific product names and colors. Take photos of samples. Store product information including manufacturer, product line, and color names. When the time comes to execute phase two or three, you’ll have exact details to reference rather than trying to remember or match by eye.
This comprehensive planning prevents the mistake of creating a patchwork flooring situation. Your home will feel cohesive and intentional even if the actual implementation happens over several years.
There’s excitement in reaching the point where you’re ready to install your beautiful new flooring. You’ve made selections, ordered materials, and scheduled installation. In the rush to reach completion, it’s tempting to skip careful subfloor preparation. This shortcut creates problems that range from annoying to catastrophic.
Common Subfloor Issues That Get Ignored
Moisture in concrete subfloors is invisible but damaging. Excess moisture migrating up through concrete causes adhesive failure for tile and vinyl, warping for hardwood and laminate, and mold growth under any flooring. Yet moisture testing is often skipped because it takes time and reveals problems that require addressing.
Unlevel areas present another frequently ignored issue. Subfloors with dips, humps, or slopes don’t meet manufacturer requirements for flatness (typically 3/16 inch variance over 10 feet). Installing over unlevel subfloors causes tile lippage, laminate and vinyl plank that won’t lock together properly, and floors that feel bouncy or uneven underfoot.
Squeaks in wood subfloors might seem minor, but once you install finished flooring over squeaky areas, the squeaks persist—now emanating from your beautiful new floor. Fixing squeaks after the fact is difficult or impossible without removing the flooring.
Damaged or soft areas indicate underlying problems—often water damage, rot, or structural issues that need repair before covering them. Installing flooring over compromised subfloor is like painting over rot; it hides the problem temporarily but doesn’t fix it.
Protruding fasteners—nails or screw heads sticking up from the subfloor—can telegraph through vinyl flooring, create hollow spots under tile, or damage underlayment for laminate floors. Walking across these areas may produce clicking sounds or visible depressions.
Why These Issues Get Overlooked
Subfloors are hidden once your finished flooring installs, making them easy to deprioritize. The mindset becomes “no one will see it, so does it really matter?” The answer is yes, absolutely it matters, because subfloor condition directly affects finished floor performance and longevity.
Budget and timeline pressures contribute to skipping this work. Subfloor remediation costs money and takes time. When you’re eager to finish and potentially already over budget, addressing subfloor issues feels like an unnecessary expense.
Knowledge gaps play a role too. Many homeowners simply don’t know what proper subfloor preparation entails or why it matters. If contractors don’t proactively raise these concerns, issues go unaddressed until problems develop later.
The Consequences
Tile installed over unlevel subfloor develops lippage that creates an uneven walking surface and looks unprofessional. Worse, tiles crack under stress when they’re not fully supported by a flat substrate underneath.
Hardwood or laminate installed over high-moisture concrete fails as moisture causes swelling, cupping, warping, and eventually delamination or rot. By the time you notice problems, moisture has caused extensive damage that requires complete flooring replacement.
Luxury vinyl plank over unlevel subfloor won’t lock together properly. Planks separate at joints, creating gaps. The floor flexes excessively when walked on because it’s not uniformly supported.
Any flooring over squeaky subfloor transfers those squeaks to your new floor. Every step produces noise that reminds you daily of the preparation work you skipped.
The Solution: Comprehensive Subfloor Preparation
Invest time and money in proper subfloor preparation. This isn’t optional—it’s essential for successful flooring installation.
Test concrete for moisture using calcium chloride tests or electronic moisture meters. If moisture levels exceed manufacturer guidelines (varies by flooring type but typically 3-5 pounds per 1,000 square feet for calcium chloride tests), address it with moisture barriers or mitigation systems before installing flooring.
Level the subfloor using self-leveling compound for low spots and grinding or sanding for high spots. Follow your flooring manufacturer’s requirements for flatness—these aren’t suggestions, they’re engineering specifications for proper performance.
Secure squeaky areas by screwing the subfloor down to joists. Use screws that penetrate deeply into joists without poking through the subfloor top. Fill any gaps between subfloor and joists with shims.
Replace damaged sections rather than installing flooring over them. Cut out water-damaged, rotted, or soft areas and replace with new subfloor material. This is particularly important for floor areas that have experienced water damage, even if the subfloor appears dry now.
Remove or countersink all protruding fasteners. Walk the entire subfloor carefully, feeling for any protrusions. Sink nails below the surface with a nail set. Drive screws deeper or remove them.
Clean thoroughly before installation. Dust, debris, and grit prevent proper adhesion and create problems under flooring. Vacuum the entire subfloor, then vacuum again.
When to Involve Professionals
Serious moisture issues, structural concerns, or extensive leveling requirements warrant professional evaluation and remediation. These aren’t problems to address with half-measures or DIY experiments. Foundation issues, major water damage, or structural deflection need expert assessment and proper correction.
The Cost-Benefit Reality
Proper subfloor preparation might add $500 to $2,000 to your project cost depending on the issues present. Skipping it and dealing with failed flooring later costs $5,000 to $15,000—removal of failed flooring, subfloor correction you should have done initially, new flooring materials, and installation. The choice is clear: invest in preparation or pay far more for repairs.
Your finished flooring is only as good as what’s underneath it. Proper preparation ensures your beautiful new floors perform well and last for decades. Skipping preparation almost guarantees problems that range from merely annoying to extremely expensive.
You tackle the bathroom first because it needs it most urgently. A couple of years later, you renovate the kitchen. Eventually, you get around to the bedrooms. Each project is completed successfully, but the cumulative cost significantly exceeds what a comprehensive renovation would have cost. You’ve also created coordination nightmares, extended disruption, and missed opportunities for efficiency.
Why Room-by-Room Happens
Budget limitations often drive this approach. You can afford to renovate one room at a time, but renovating your entire home feels financially impossible. Phasing the work makes it manageable.
Decision fatigue also contributes. Making all the selections for an entire home renovation is overwhelming. Focusing on one room at a time feels more approachable.
Sometimes rooms have different urgency levels. The bathroom leak requires immediate attention; the dated bedroom carpet can wait.
The Hidden Costs of Piecemeal Renovation
What seems like a budget-friendly approach often ends up costing substantially more than comprehensive planning would have.
Multiple contractor mobilizations mean you pay setup and breakdown costs repeatedly. Contractors charge for showing up, bringing tools and equipment, protecting your home, and cleaning up afterward. When the same contractor returns three separate times over three years, you pay these costs three times instead of once.
Material pricing suffers because you purchase small quantities multiple times rather than larger quantities once. Bulk discounts don’t apply. Special orders cost more. And products change or discontinue over time, potentially forcing you to choose something different for later rooms rather than maintaining consistency.
Inefficiencies multiply. The electrician who rewires your kitchen one year returns three years later to rewire your bathroom. He relearns your home’s electrical system, makes another service call charge, and works less efficiently than if he’d done both spaces during one visit.
Coordination becomes complex. Your kitchen renovation runs new wiring behind walls. Two years later, your bedroom renovation needs wiring run through the same walls. If you’d done both projects together, one comprehensive electrical upgrade would have cost less and been less disruptive than two separate electrical projects.
Finishes don’t match because flooring, paint colors, and materials evolve. The gray paint you used in your bathroom three years ago isn’t available anymore when you’re ready to paint the bedroom. The luxury vinyl plank you installed in your kitchen has been discontinued; you can’t match it for the hallway.
Disruption extends across years instead of months. Your home exists in a state of semi-renovation for extended periods. You live with construction dust, blocked access to rooms, and general upheaval over and over rather than enduring one concentrated period of renovation.
The Cost Comparison
Project managers for renovation companies report that phased room-by-room renovations typically cost 20-30% more than comprehensive renovations done at once. On an $80,000 renovation, that’s $16,000 to $24,000 in additional costs—money that bought you nothing except the “convenience” of spreading payments over time.
You do spread costs over several years, which helps with cash flow. But you pay significantly more in total for that spreading. If cash flow is the concern, a renovation loan consolidated into one project costs less than paying the premium for piecemeal work.
The Solution: Plan Comprehensively, Execute Strategically
Even if you can’t afford to renovate everything at once, planning comprehensively from the start saves money and creates better results.
Develop a master renovation plan that addresses your entire home. Make all your design decisions up front—flooring for every room, paint colors throughout, fixture styles, hardware finishes. This ensures consistency and allows you to take advantage of ordering everything together.
Get comprehensive quotes for the full scope of work. Understanding the total project cost helps you make informed decisions about financing options versus piecemeal execution.
Order all materials at once even if installation happens in phases. Volume discounts apply. You lock in current pricing rather than facing future price increases. Most importantly, you ensure availability and consistency of all your selections.
Phase intelligently if necessary. If you must phase work, group logically related spaces:
This grouping allows contractors to work efficiently within each phase. The electrician upgrades all main floor wiring at once during phase one. The plumber handles all bathrooms during phase two. Each tradesperson works efficiently rather than returning repeatedly.
Use the same contractors for all phases. Developing a relationship with contractors who know your home, understand your preferences, and work efficiently in your space provides value beyond any savings from competitive bidding for each phase.
Schedule phases close together if possible. Completing your renovation over 6-12 months rather than spreading it over 3-5 years reduces costs, minimizes disruption, and lets you enjoy your finished home sooner.
The Financing Reality
Explore renovation loan options. Some lenders offer renovation mortgages that include improvement costs in your home loan. Home equity lines of credit provide lower interest rates than credit cards for spreading payments. Personal loans might carry higher rates but can be structured for manageable payments.
Calculate the true cost of waiting. If phased renovation costs 25% more, financing a comprehensive renovation at 7% interest is financially smarter than paying the phasing premium. You save money overall while completing your renovation faster.
The Bottom Line
Room-by-room renovation feels manageable but often proves more expensive, more disruptive, and less satisfying than comprehensive planning with strategic execution. Even if you phase the work, plan it all from the beginning. Your wallet, your sanity, and your finished home will thank you.
The ten mistakes outlined in this guide represent thousands of dollars in unnecessary expenses, countless hours of frustration, and years of living with regret. The homeowners who made these mistakes didn’t set out to fail—they made decisions that seemed reasonable at the time but turned out poorly.
Your advantage is learning from their experience without paying the price yourself. Every regret shared here is an opportunity for you to choose differently. Every expensive lesson learned by others can guide your decisions toward better outcomes.
The Common Threads
Looking across these mistakes, several themes emerge:
Shortcuts rarely pay off. Whether it’s skipping subfloor preparation, buying cheap materials, or rushing past full-scale sampling, taking shortcuts to save time or money usually ends up costing more in the long run.
Planning prevents problems. Comprehensive planning before you start—seeing samples at scale, addressing subfloor issues, developing a whole-house flooring strategy—avoids problems that are expensive or impossible to fix afterward.
Professional expertise has value. Some tasks warrant professional installation. The cost of hiring skilled tradespeople is often less than the cost of fixing DIY mistakes or living with subpar results.
Timing matters. Renovating before you move in, installing heated floors when walls are open, addressing problems while spaces are exposed—the right time to do something is often “now” rather than later when it becomes harder or more expensive.
Quality is remembered long after price is forgotten. Living with floors you’re proud of for 20 years feels better than living with floors you tolerate for 5 years before replacing them. The memory of the higher price tag fades; the daily enjoyment of quality materials lasts.
You’re at the beginning of your flooring renovation journey, standing where all these homeowners stood before making the mistakes they now regret. You have the advantage of their experience lighting your path.
Take time to make thoughtful decisions. See full-scale samples in your home. Invest in proper preparation. Choose quality materials backed by solid warranties. Hire professionals for complex installations. Plan comprehensively even if you execute in phases. Renovate before moving in if possible. Choose practical grout colors.
These aren’t revolutionary ideas—they’re simply the wisdom gleaned from people who wish they’d done things differently. Let their regrets inform your choices. You’ll spend roughly the same amount of time and money on your flooring renovation whether you do it right or wrong. The only question is whether that investment produces a floor you love for decades or one you tolerate until you can afford to replace it.
At Club Ceramic Cambridge, we’ve guided hundreds of homeowners through flooring decisions and installations. We’ve seen what works and what doesn’t. We’ve watched homeowners make mistakes we tried to warn them about, and we’ve celebrated with homeowners who trusted our advice and achieved beautiful, durable results.
Our showroom provides the resources you need to avoid these common mistakes. We have full-size displays so you can see how tiles look at scale rather than judging from small samples. We offer samples you can take home and live with in your actual lighting. Our team can connect you with skilled installers who will properly prepare subfloors and install your flooring to manufacturer specifications. We carry quality materials with solid warranties from reputable manufacturers.
Most importantly, we share honest advice about what works and what doesn’t based on years of experience. We’ll tell you when white grout is a bad idea. We’ll recommend against hardwood in kitchens. We’ll encourage you to invest in heated floors during renovation. We’ll help you develop a comprehensive flooring plan even if you’re renovating in phases.
Your flooring is too important to get wrong. Visit our showroom, bring your questions, and let our experience guide your decisions. Together, we’ll create a flooring plan that you’ll love living with for decades—and that you’ll never regret.